How To Paint Kitchen Cabinets - To Recreate a Factory Finish
How To Spray Paint Kitchen Cabinets
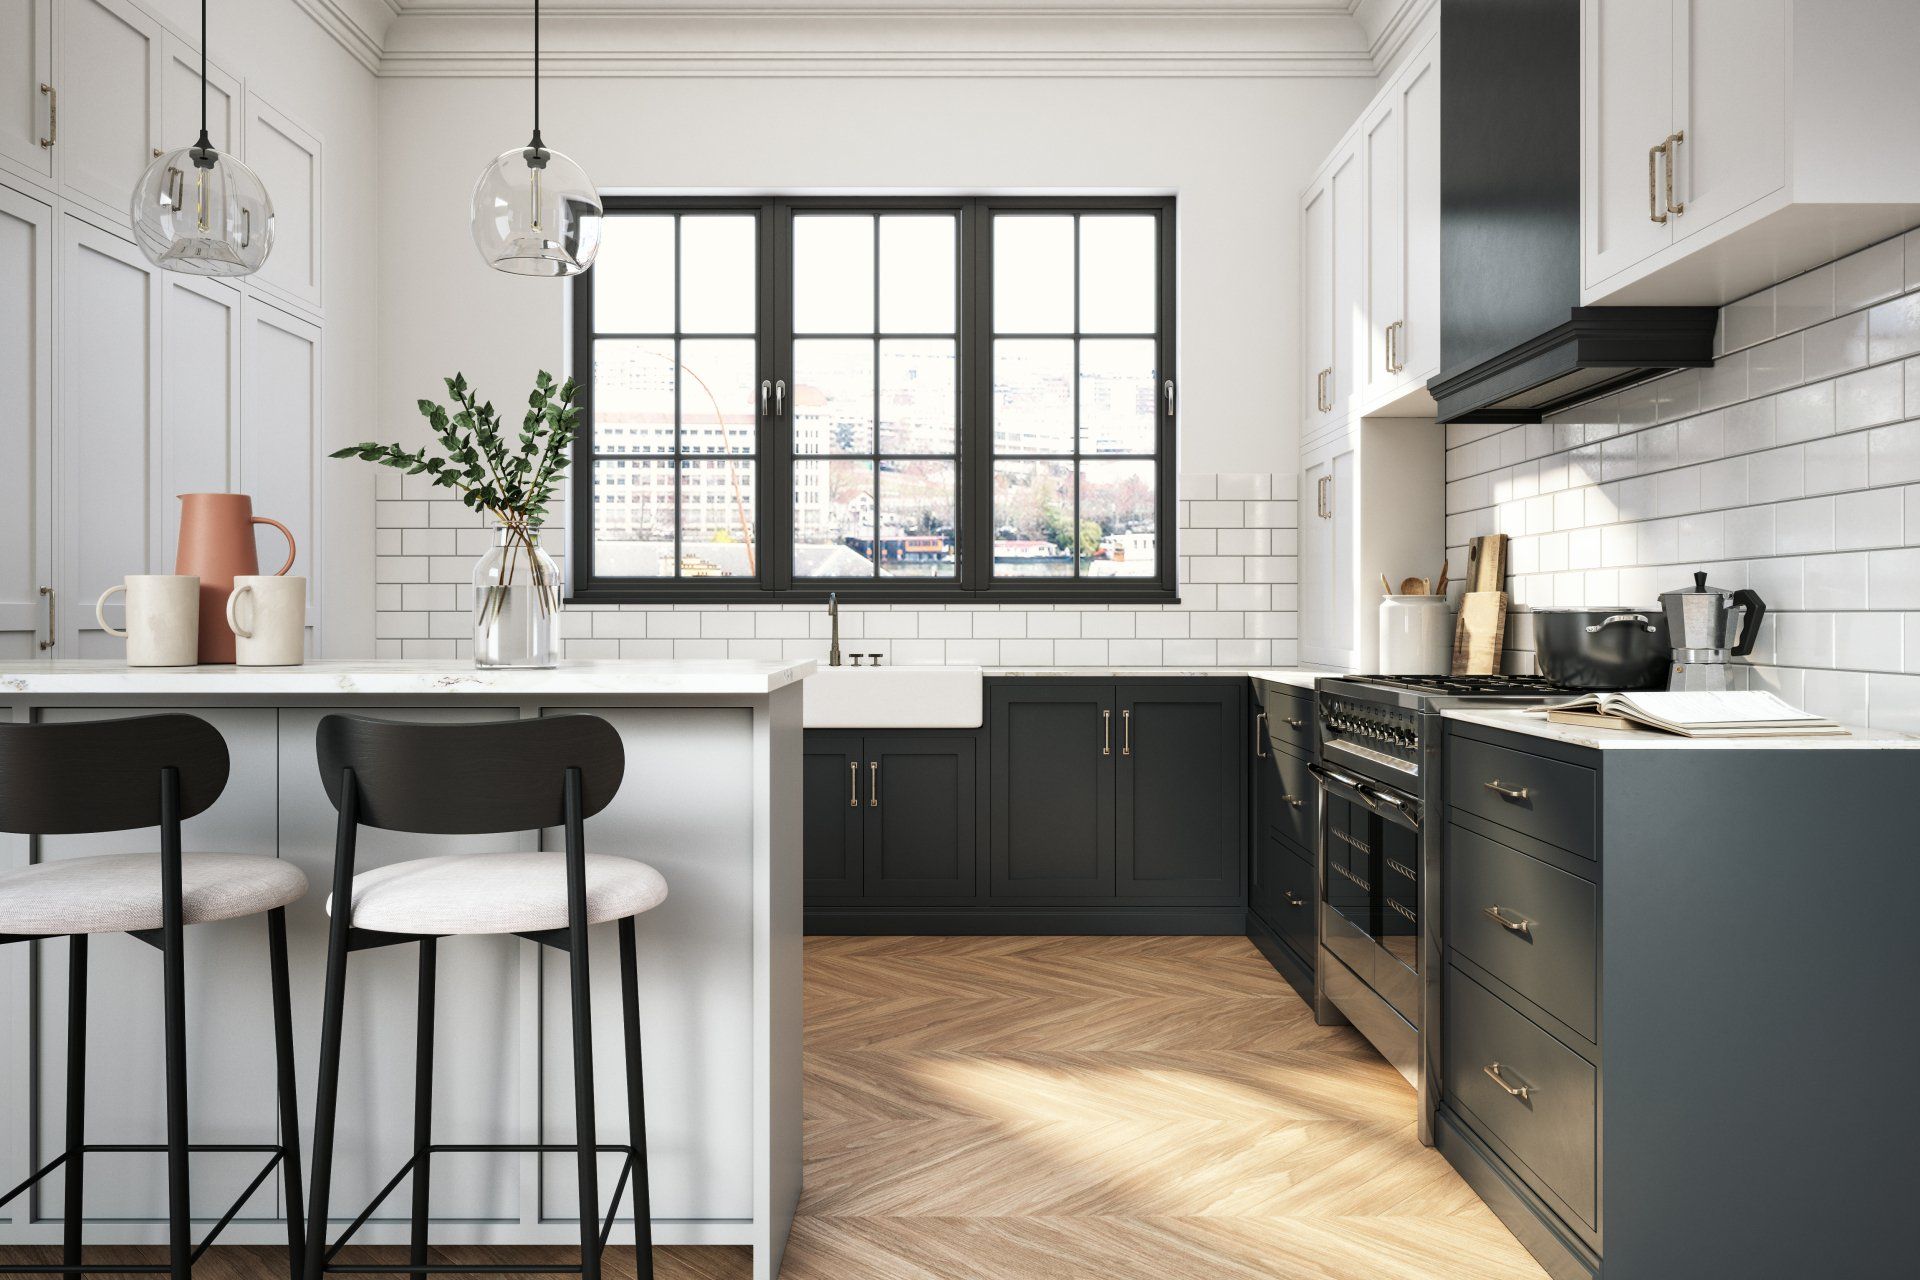
Kitchen respraying is the perfect alternative if a new kitchen is out of reach. It is quicker, simpler, far
more cost-effective, without an invasive renovation. Kitchen respraying also has the potential to add value to your property, producing stunning results if done correctly. Plus painting kitchen cabinets is far more environmentally friendly.
“Price for performance nothing beats spray painting kitchen cabinets”.
Kitchen Respraying Index:
- The Professional Painting Process
- Painting Kitchen Cabinets Guide
- Spraying vs Brushing Pros & Cons
- Hiring a Professional
Before you start painting your kitchen cabinets it pays to prepare for the job.
It’s always a good idea to take your time and do some research. Whether that will be looking at Home
magazine, surfing google, or Pinterest, there are so many platforms. Houzz and Pinterest are favourites
of ours, with inspiring designs and creative ideas you wont be short of inspiration.
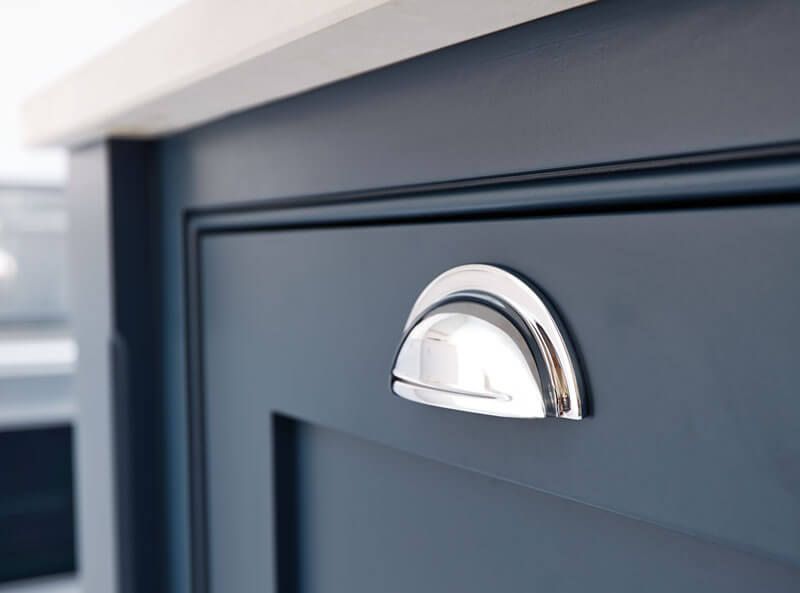
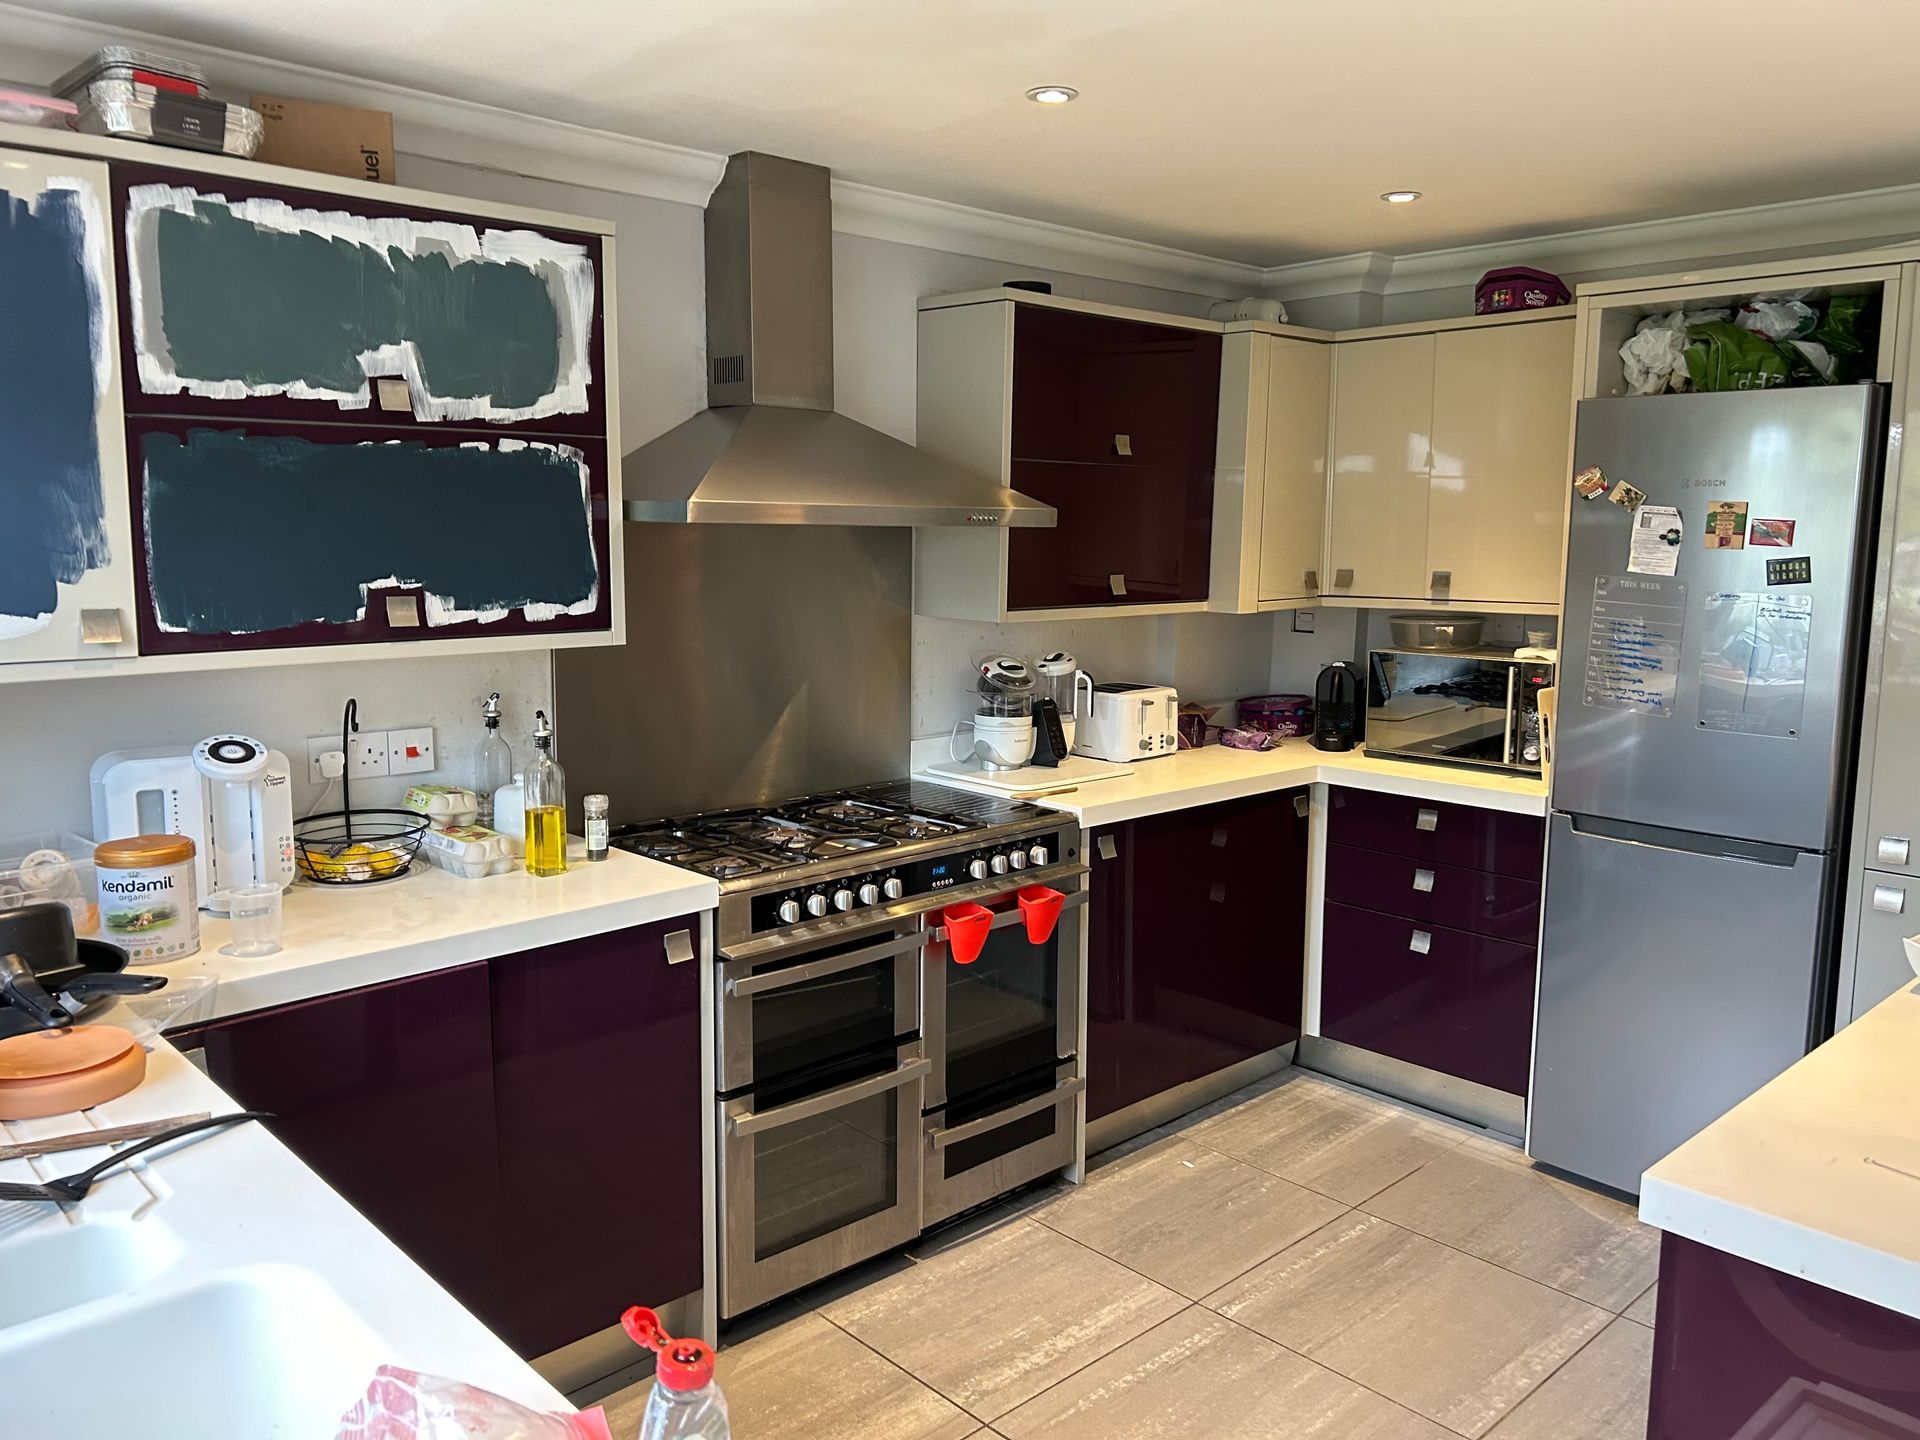
The first thing you want to make sure of is that you are 100% happy and satisfied you’ve chosen the
right colour to transform your kitchen. It’s always advised to sample 3-4 colours. Try to consider how the space, orientation and light in the room will affect the colour and what sort of style you are looking to achieve and take into consideration colours that already exist within the space.
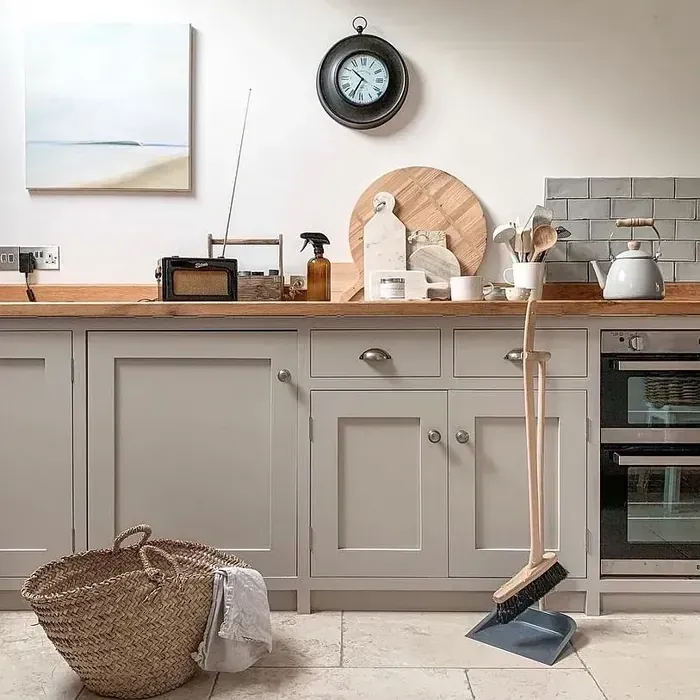
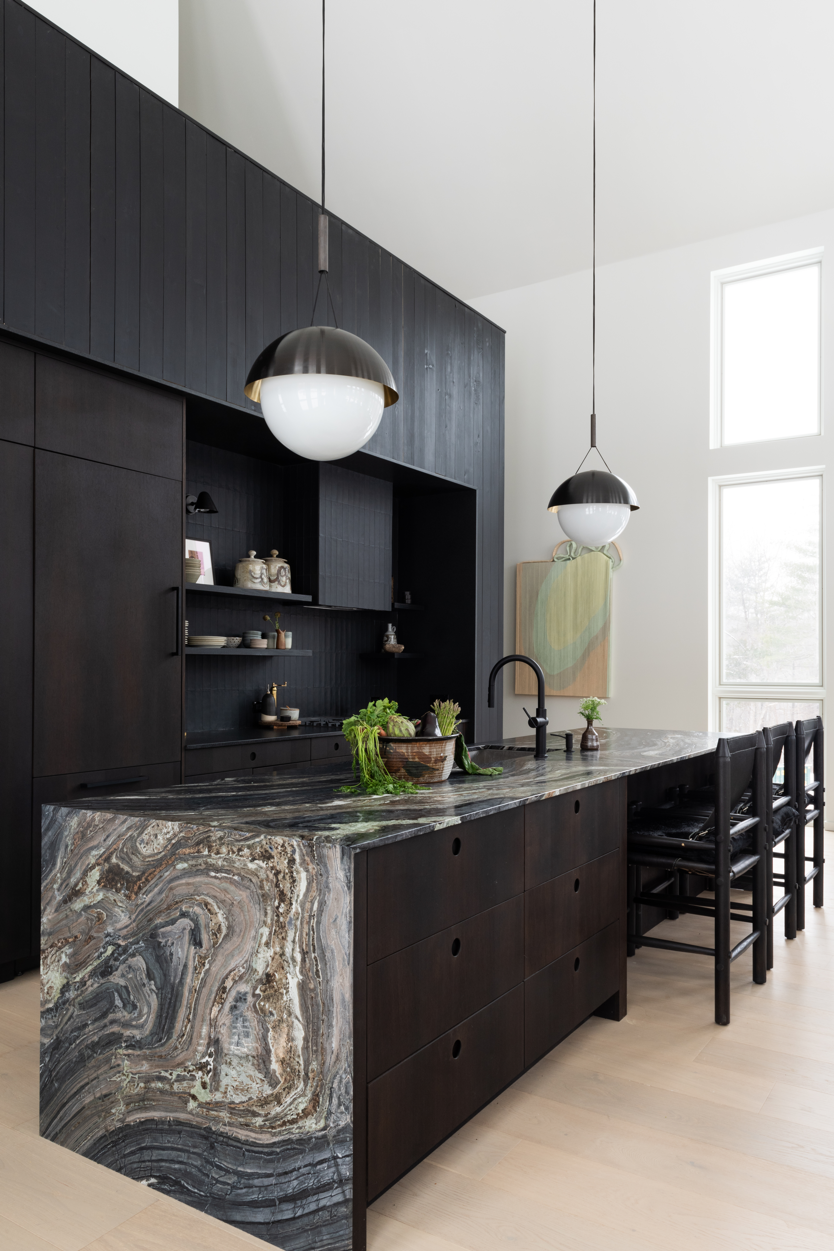
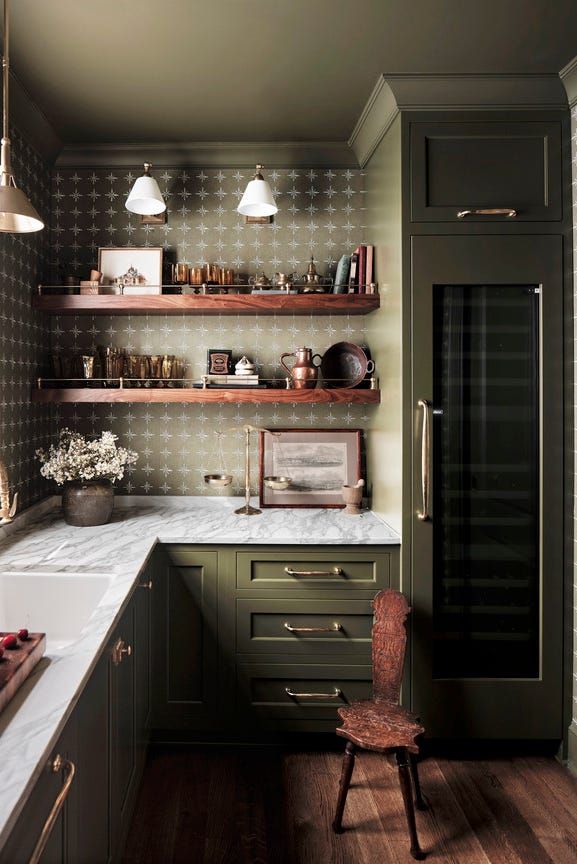
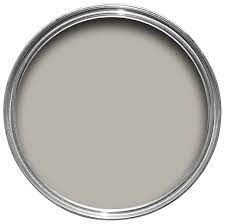
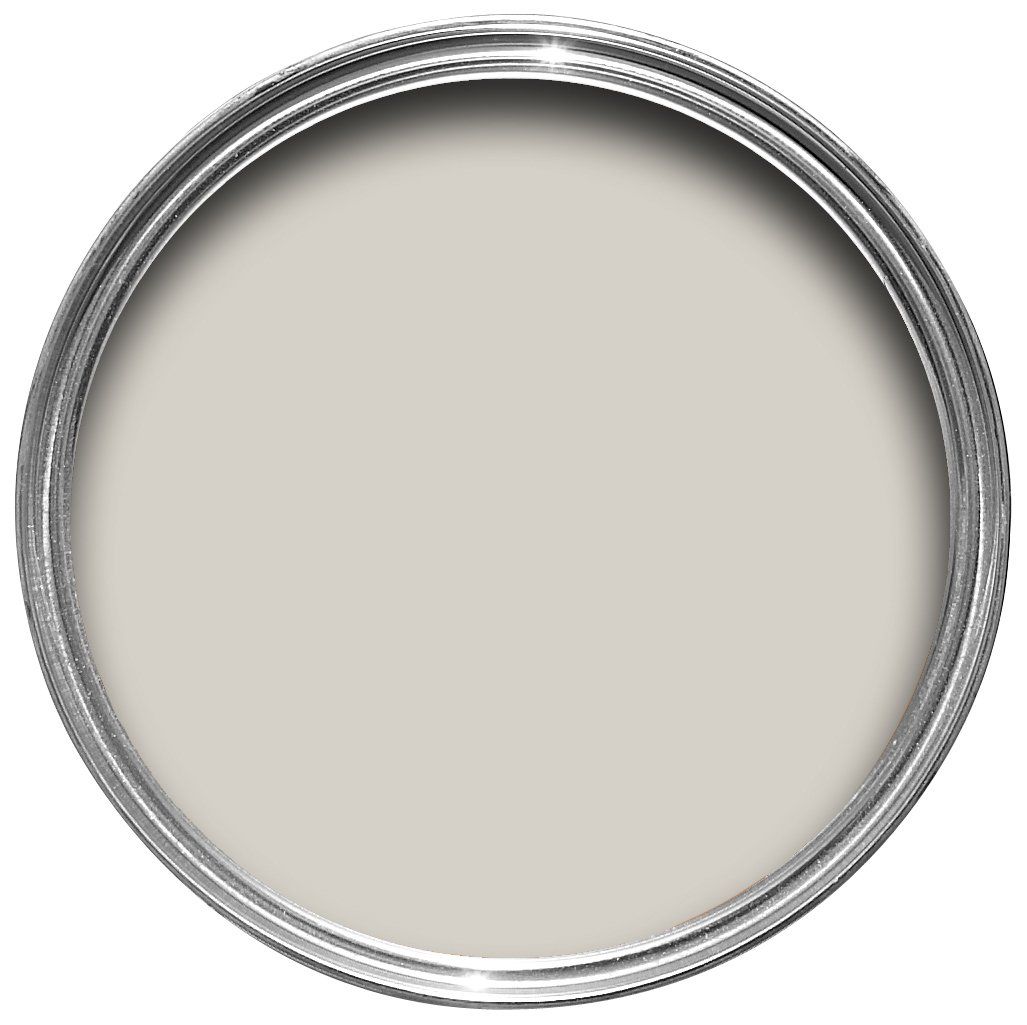
Both Farrow & Ball and Little Green Co offer a vast range of fabulous colour choices. Here are the four colours most used in 2021/2022, to complete KoolCreations bespoke kitchen resprays.


Best Primer For Kitchen Cabinets
Once you have chosen your colour, you will need a specialised primer to not only bring your project to life, but to also provide durable long lasting results. It’s critical when painting kitchen cabinets, the correct primer for the surface in question is applied.
Think of it like building a house, if the foundation is not correct for the ground you are building on, everything else built on top will be weak and eventually fail.
Make sure to take the time to understand the primer.
- Is it solvent or water based? (the top coat will need to be the same)
- Is it designed for the surface you will be painting? (if not it's highly likely to react and fail to adhere)
- Is it compatible with the top coat? (most professional paint systems provide their own primers and top coats)
The key benefit of a primer is to even out the porosity of the surface and ensure optimum adhesion so that you get the long lasting results from your paint application, but other features might include stabilising a powdery
surface or helping to prevent stains bleeding through.
Pro tip: Add 5% of your desired colour to your primer. This will tint primer to match your chosen colour. You save a lot of time and require fewer top coats if saving money is a factor. (only if the paint and primer are both compatible)
Best Paint For Kitchen Cabinets
When choosing a paint supplier for painting kitchen cabinets, it’s best to choose a paint specifically designed to do so. You could spend hours doing research, but we will save you some time. The standout performer, which specializes in kitchen coatings is the Renner paint system.
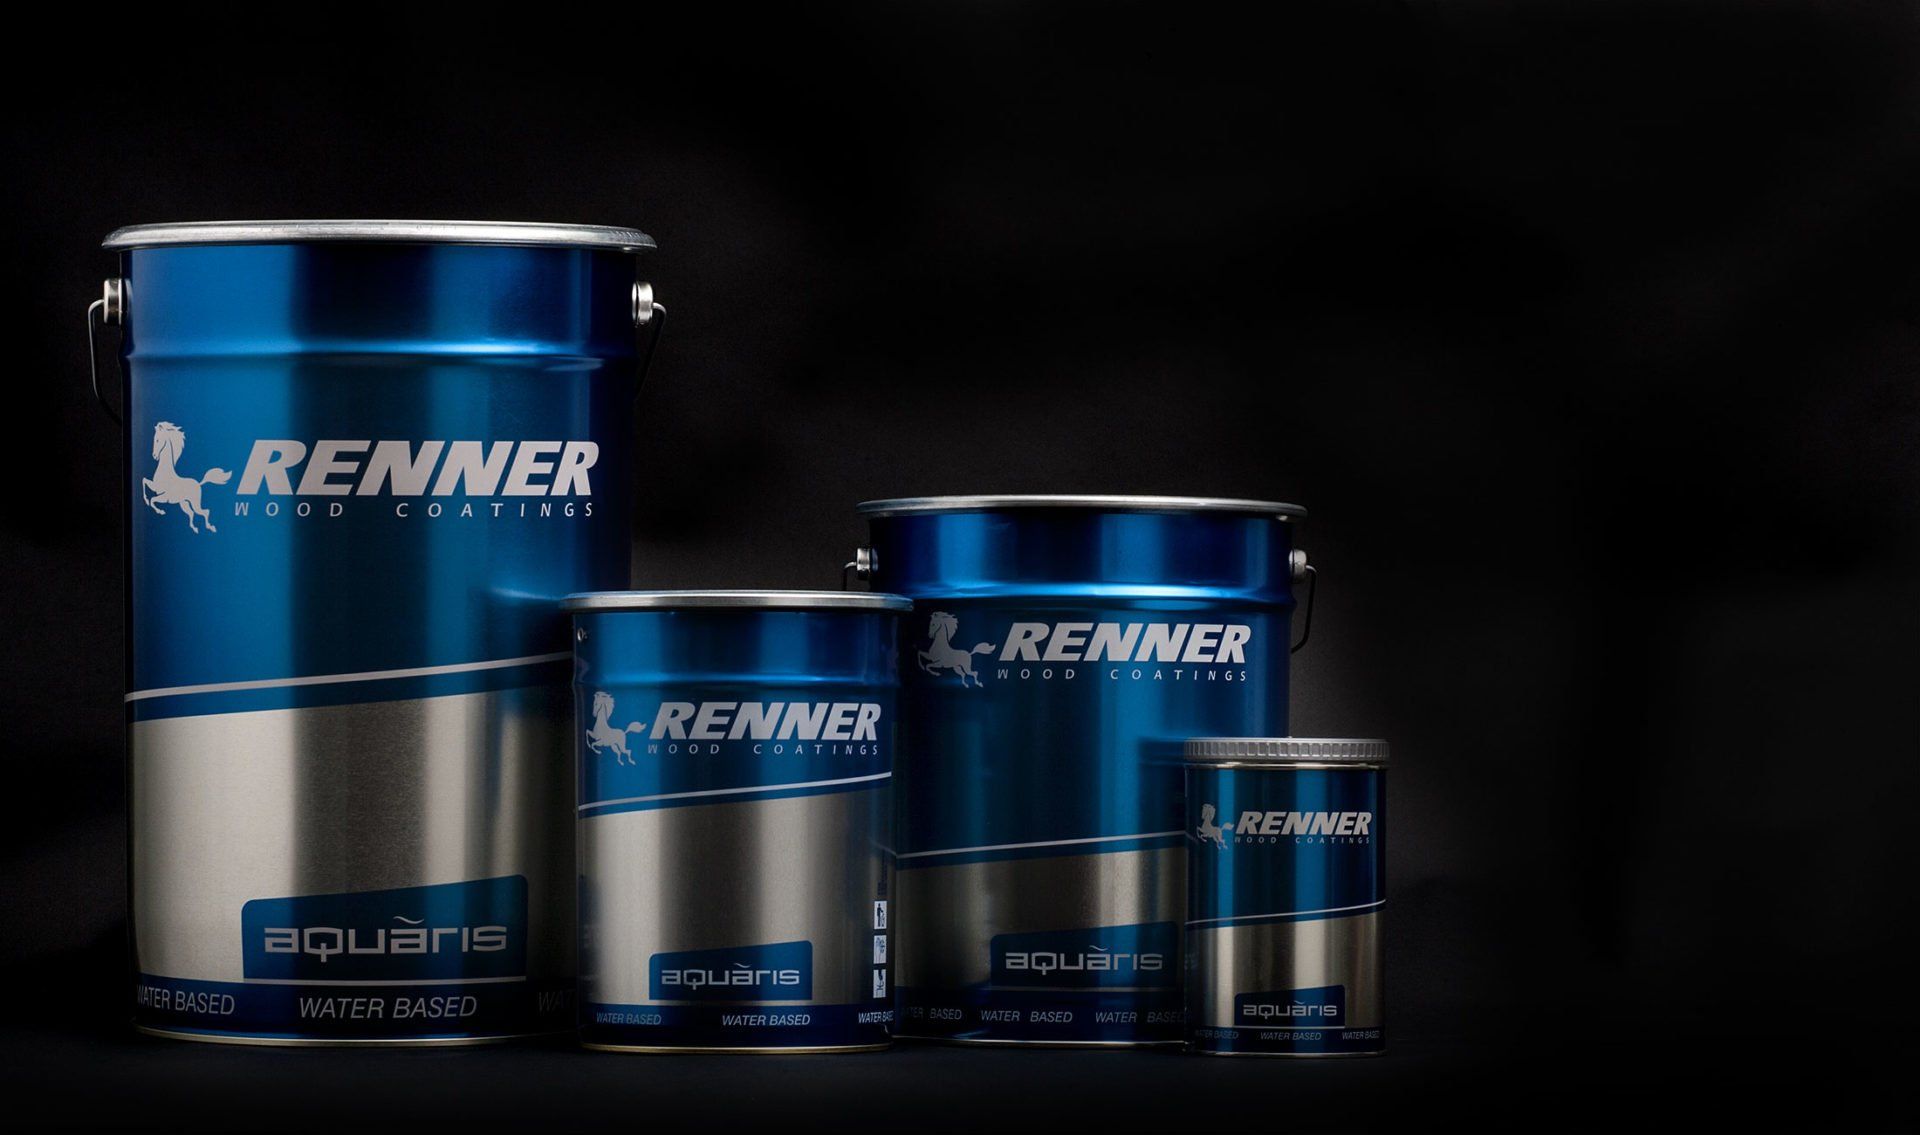
Renner Italia produces the most trustful, modern and innovative surface coatings. Above all, their coatings are formulated according to ethical principles. They are the experts in Water-based, Polyurethane and Polyester Technology if you're looking for high-end wood coatings.
Check List for Painting Kitchen Cabinets
PPE for Spray Painting:
- Disposable Gloves - (Powder free)
- Eye Protection
- Dust Mask - (Recommend 3M 6100 reusable half face mask)
- Paint Mask - (Recommend 3M 6800 reusable full face respirator)
- Disposable overalls
- Shoe covers
Tools:
- Cordless drill or screwdriver
- Spray gun - (Recommend DeVilbiss GTi Pro Lite)
- Sander - (Recommend Mirka Deros 5650CV)
- Infrared heater - (optional)
- Step ladder - (optional)
- Compressor - (Recommend Hyundai 50 Litre Minimum)
- Air Line
- Male & Female air line connectors
Consumables:
- Mixing/Measuring pots
- Mixing stick
- Stanley knife - (fresh blades)
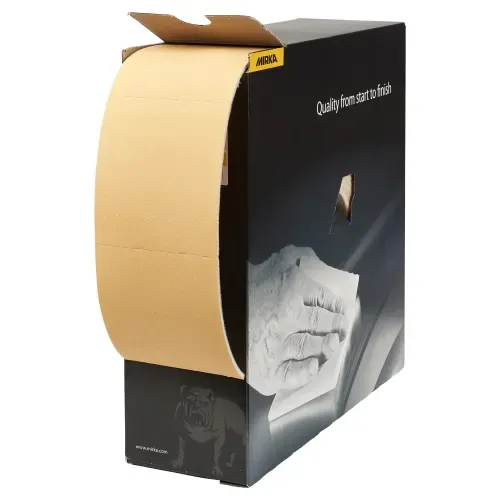
- Tack cloth x5
- Microfibre cloths x10
- Gun wash thinners
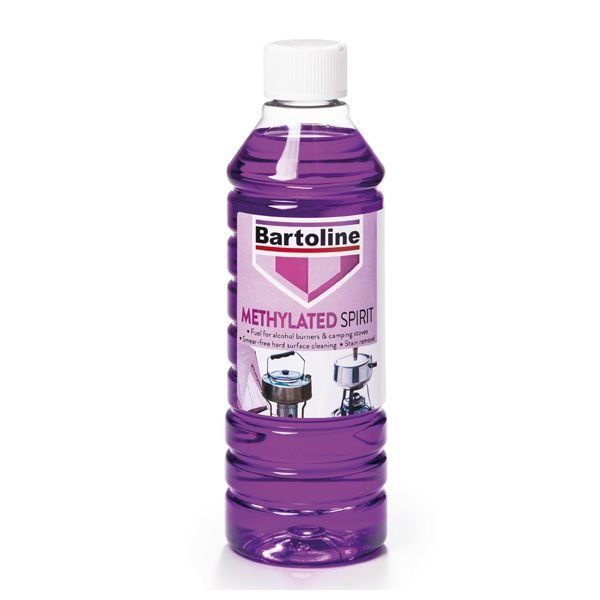
- Methylated sprits
- Painters tape/low tack x2
- Masking tape x20
- Brown Paper x1
- Static free sheeting x1
- Sanding discs - (Recommend Mirka Abranet) Grit - 180,240)
- Soft flatting pads - (Recommend Mirka Goldflex Soft) Grit - 500)
Paint:
- Primer - (use specific primer depending on the surface)
- Top coat - (Colour coat)
- Clear coat - (Needed if a wet look finish is desired)
- Cross Linker - (Optional)
Best Spray Gun for Painting Kitchen Cabinets
The biggest expense would be a HVLP spray gun. A better option, if it was for a one-off use, would be to
rent one if possible.
KoolCreations spray gun of choice and perfectly suited for this work is a DeVilbiss GTi Pro Lite Spray Gun,
Gravity Feed. If you were looking for a cheaper gun but still as effective, We recommend the A.N.I. F160 PLUS-S HPS Gravity spray gun.

How to set up a HVLP spray gun
How to set up a HVLP spray gun for spraying kitchens.
Setting up your HVLP spray gun for the first time may seem daunting, it will involve some trial and error.
Everyone will have a unique setup tailored to their spraying style. Listed below is advice and tips on how to best set up your HVLP spray gun.
- Firstly find a space you are able to safely spray within, using the brown paper, roll out 4-5 lines (2-3 square meters across) and tape to a wall that has been made safe to spray on.
- Secondly add either primer or topcoat (which either is cheaper) and fill the pot halfway.
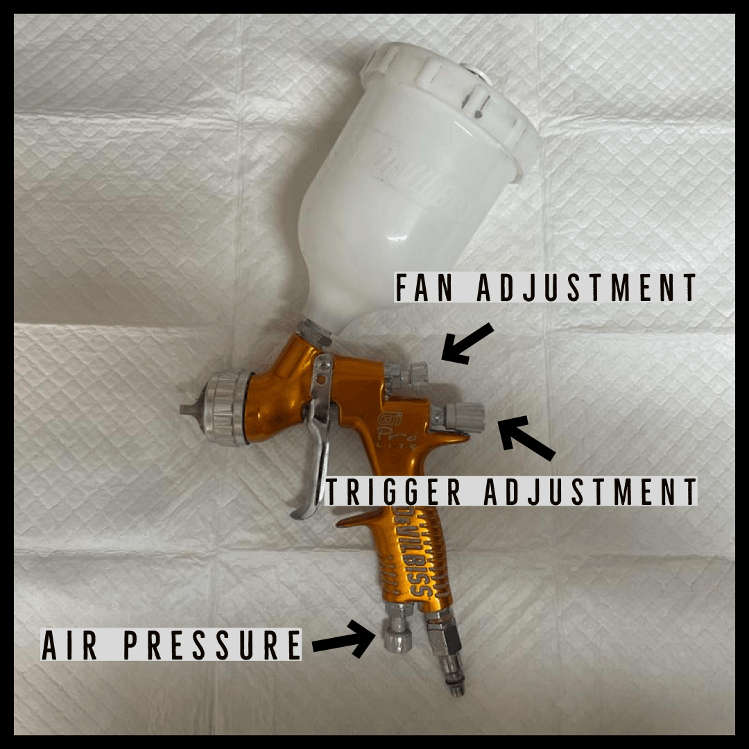
- Now you will need to adjust the gun settings. Here is a good starting point. Firstly wind out all the tips.
- Air pressure - Wind in 4 full turns.
- Trigger adjustment - Wind in 5 full turns.
- Fan adjustment - Do not adjust at first.
- Now pull the trigger half way, the gun will only be spraying air at this point. Aim the gun straight at the brown paper and slowly move left to right in a robotic fashion whilst fully pulling the trigger. This will allow the gun to release the product within the pot.
- The gun fan should be even top to bottom, when spraying overlap the laid product at a 50/50 ratio. (If there are any breaks within the fan. The gun cap/nozzle will most likely need cleaning).
- Keep making adjustments until you find settings that suit your spraying style.
- Depending on the compressor size, you may need to adjust the air pressure during spraying. As air is spent during spraying, the pressure will drop. This will then effect the fan and how the product lays upon the panel in question. When this happens you will need to turn the air tip out!
How to Prepare Kitchen Cabinets for Painting
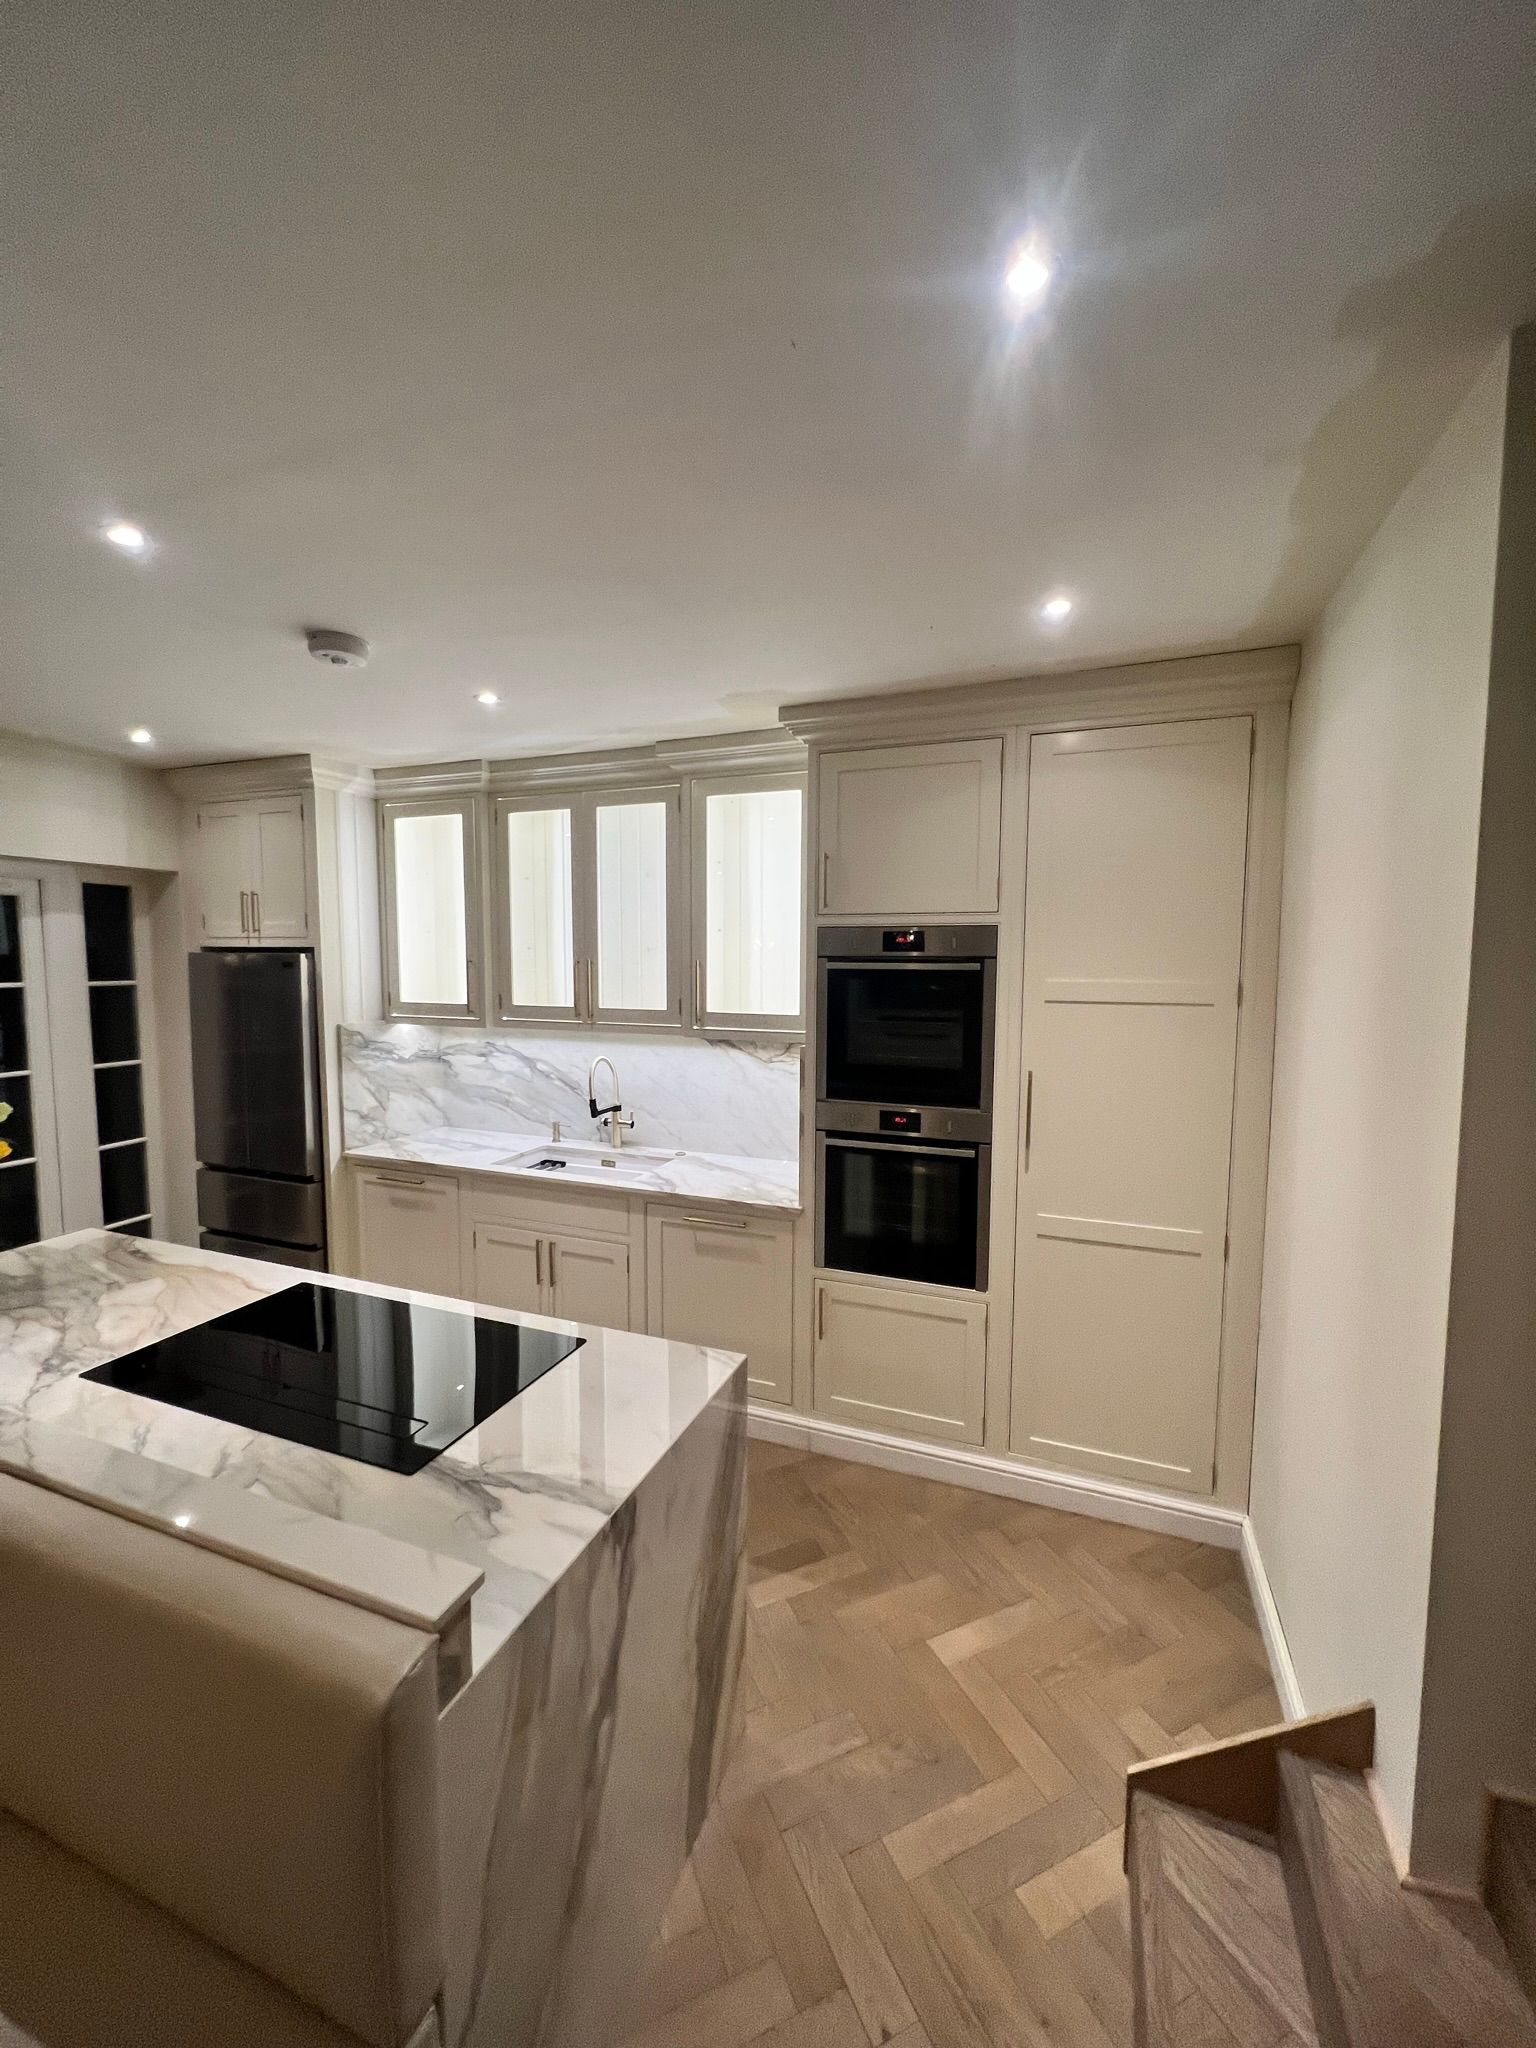
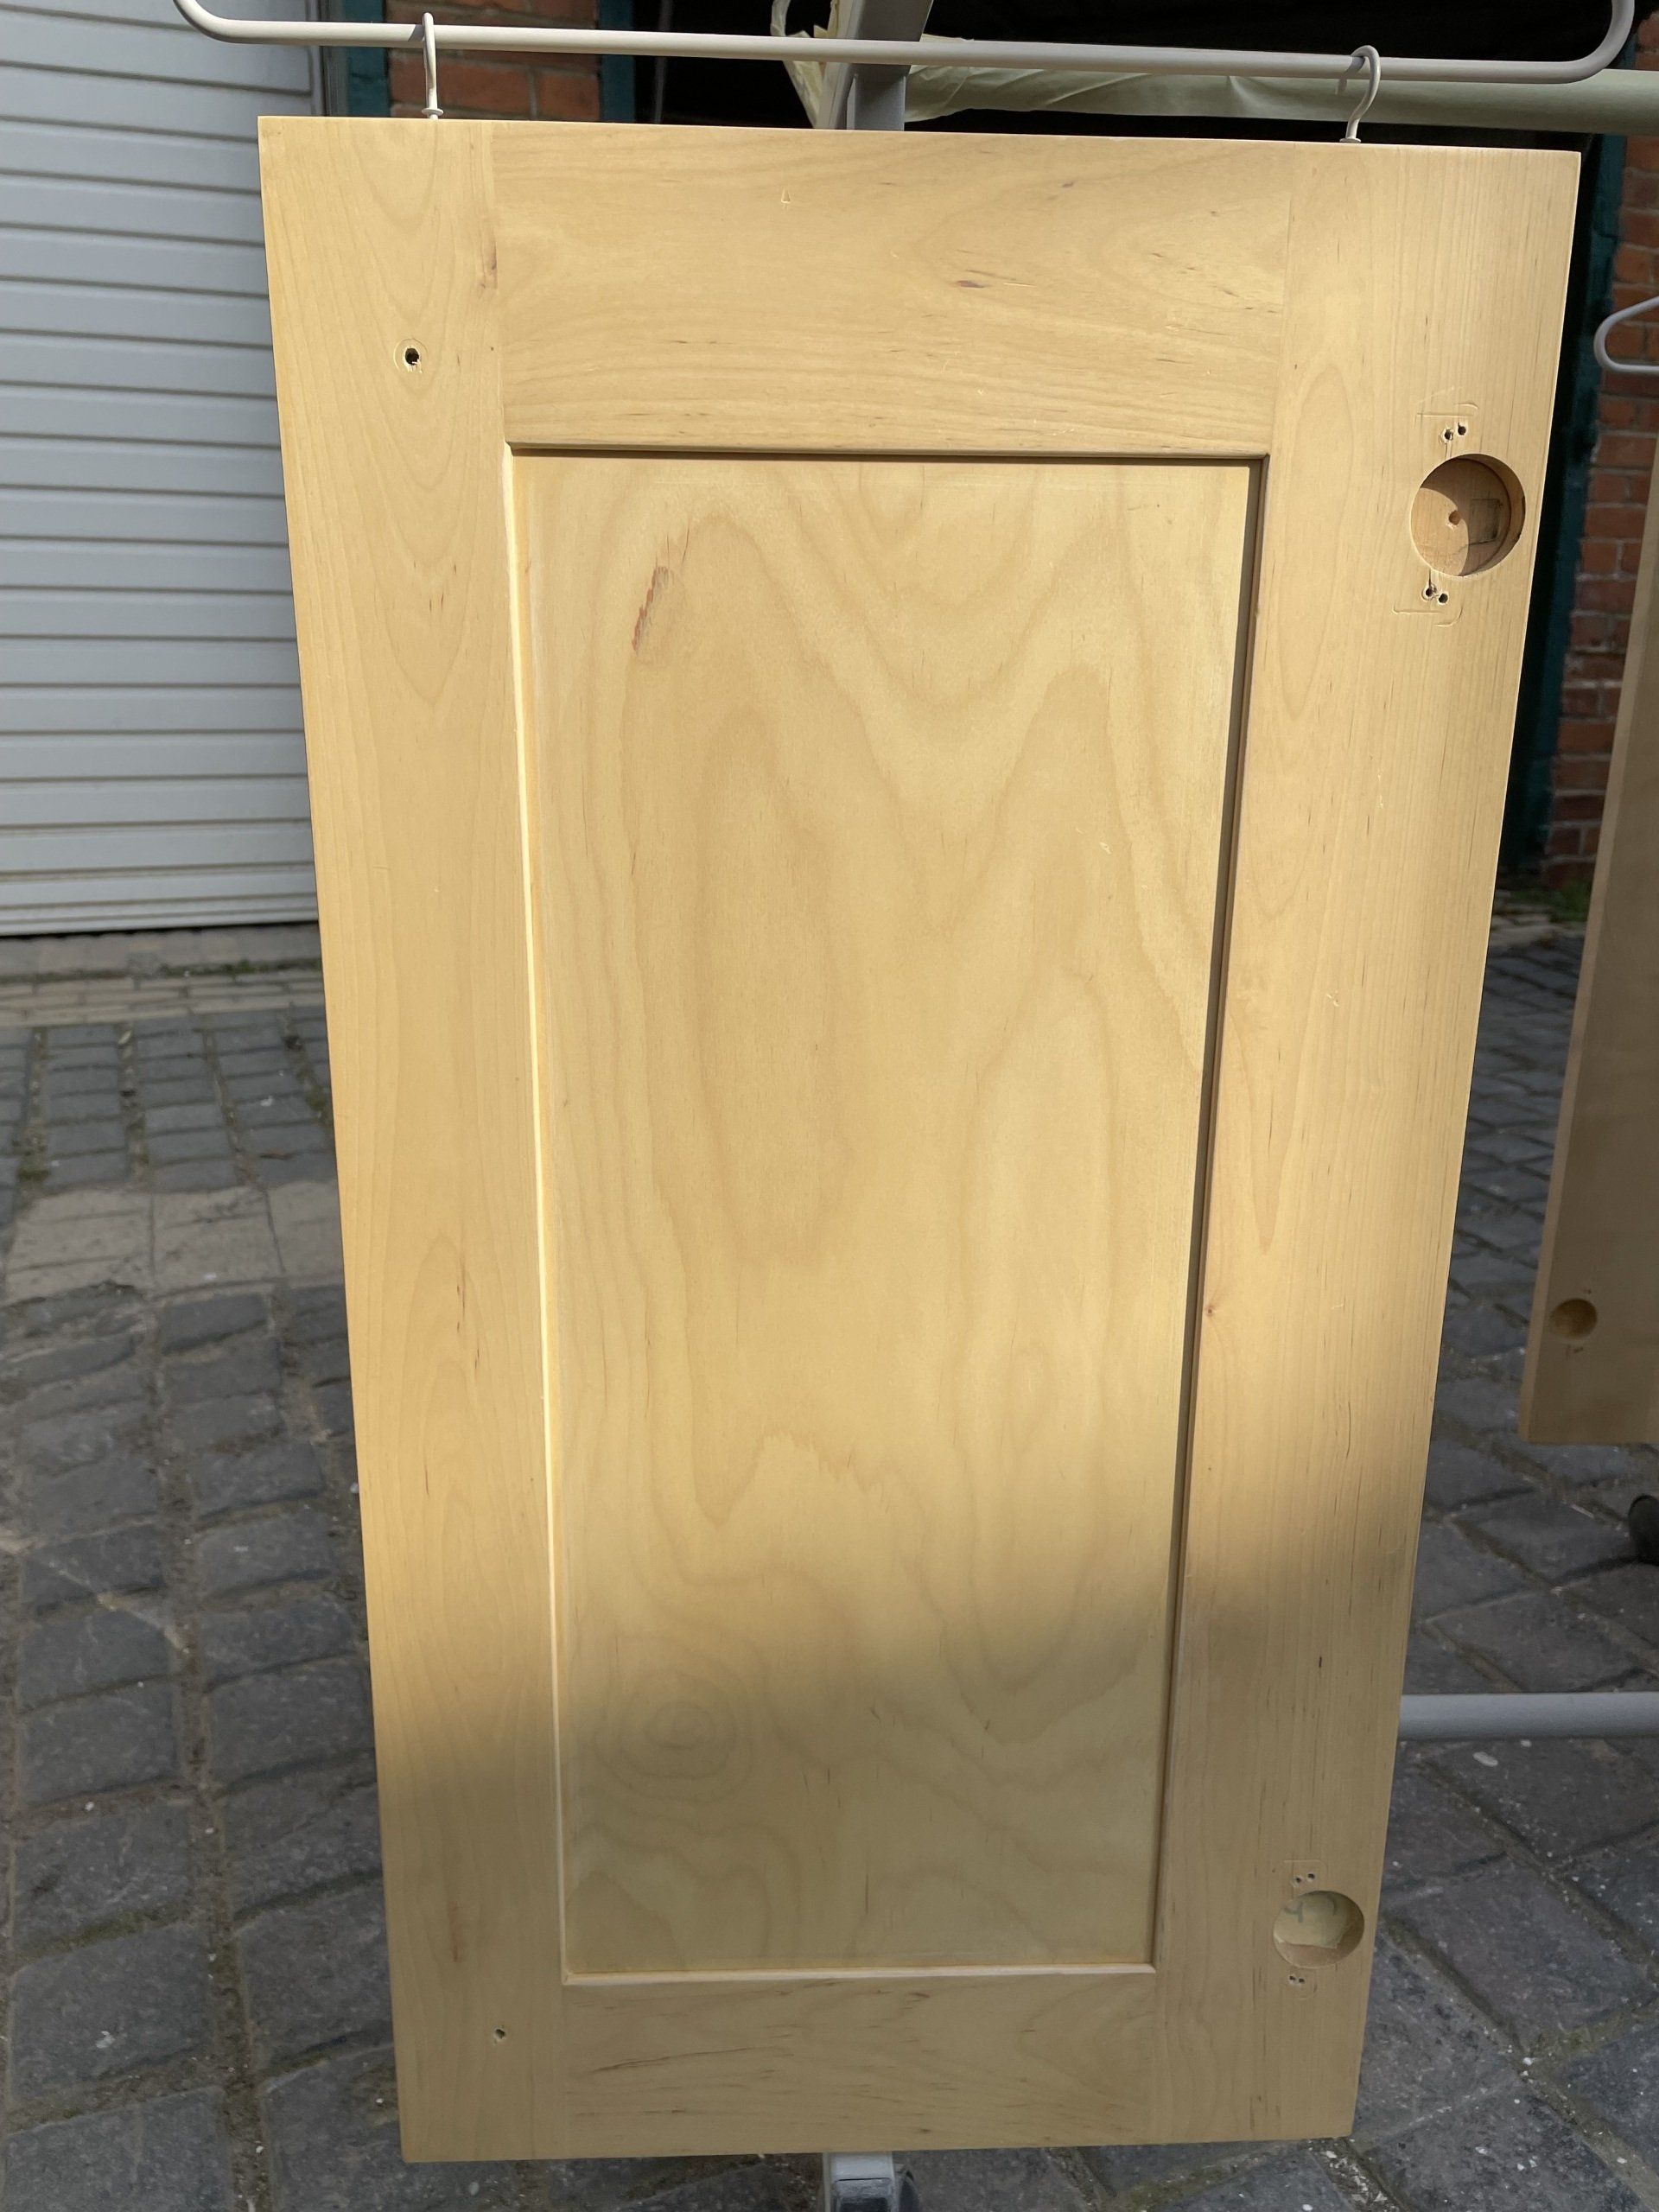
BEFORE
Step 1
Remove all doors and draws, make sure you are methodical in this approach. You will want to label
each door and draw that you remove. The best way is once you’ve removed the doors/drawers, remove
all the fittings, door hinges and kitchen hardware. Once completed label with a sharpie and masking
tape inside the carcass you removed the door from, placing all the fittings, and on the door mark the
same number in the hinge hole and cover with masking tape.


Step 2
You will need plenty of space to prepare and paint kitchen cabinet doors/drawers adequate space to work within will help prevent excess dust particles contaminating your paint work. Preferably a clean environment with plenty of ventilation. Now you will want to give your kitchen cabinet doors a pre-clean with methylated sprits beforehand, this will remove any excess dirt and grime that could clog sanding discs during the preparation process.
Pro tip:
Use a razor blade tip in the shaker door gaps, these tend to have dirt and grime build-up. Not removing will cause imperfections and possible issues with paint adhesion.

Step 3
The next step is to begin sanding the kitchen doors/drawers, preferably with 180, 240 grit. Start with the edges and be sure to sand these well. Then proceed to sand the rest of the panel. Make sure you sand the entire panel removing any shine, the goal is to create a good mechanical adhesion, to ensure you to get into the nooks and crannies. Once finished sanding you will want to give your kitchen cabinet doors/drawers a second deep clean with methylated sprits, this part is essential, fail to do so and your paint won't adhere sufficiently, resulting in a substandard finish.
Give a thorough clean with a tack cloth prior to painting the kitchen cabinets, make sure all dirt and debris have been removed.
Pro tip: Slightly round off the edges when sanding, this will allow good paint adhesion and add durability.


Stage 4
Now doors/drawers are prepared and thoroughly cleaned. You will need to organise the doors for primer application there are two ways to go about this.
The first and most efficient way is to hang doors/drawers. By drilling tiny holes on the unseen ends of each kitchen door/drawers and screwing in steel hooks. You can then hook on to hangers (use high quality steel hangers) Doing so will prevent you having to wait for one side to dry before painting the other. You will need plenty of space to spray the kitchen doors/drawers and a space for the doors to dry. it's essential to keep already painted doors/drawers away from the doors/drawers you are spraying. This prevents overspray causing surface imperfections on already painted doors/drawers.
Pro tip:
Mask around the hanger hook, doing so will prevent the hanger swaying once the door/drawers have been sprayed and hanged.
Option two:
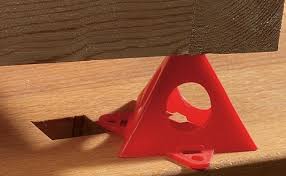
The second option would be to spray one side of the kitchen door/drawer in question and once dried spray the other side. Always place doors on painter's pyramid stands. The main benefit of opting for this method is not having to fill drilled holes upon completion.
Pro tip: Spray the back of doors/drawers first, then the front. Doing so limits the chance of the pyramids marking the visible side of the panel in question.
Stage 5
Apply the primer to all panel edges first, then left to right in a controlled robotic fashion, moving down the panel, so the gun fan overlaps at a 50/50 ratio. Keep the gun fan straight (do not angle the gun). Typically 2 to 3 coats will be sufficient. Allow the previous coat to dry before applying a second coat. Overloading the paint can lead to a build up of primer, possibly causing runs.
The aim is to insure the panel is completely covered with enough primer, so to have enough product to flat during the next step. The desired look during application would be comparable to an orange skin (if using the Renner paint system), As once dried the primer will flow our slightly and provide a desirable surface for flatting.
Pro tip: To prevent overspray landing on panels already sprayed, have an organised system where the spraying and the drying are in separate work spaces.
Stage 6
Once all doors/drawers are dry. Sand down methodically with a 320 grit. Start with the edges, do so lightly and be careful not to break through, then proceed to sand the rest of the panel. Insure all the primer has been sanded so smooth to the touch and without imperfections. Once completed give each panel a deep clean removing all dust. Use a slightly wet microfibre cloth so to remove excess dust, followed by a tack cloth to remove what dust is left.
Pro tip: let the dust particles settle 20-30 minutes, then clean the area before spraying.
Stage 7
Apply the top coat to all panel edges first, then left to right in a controlled robotic fashion, moving down the panel, so the gun fan overlaps at a 50/50 ratio. Keep the gun fan straight (do not angle the gun). Typically 2 coats will be sufficient. Allow the previous coat to dry before applying a second coat. Overloading the paint can lead to a build up, causing runs and imperfections.
Once competed allow the doors/drawers to dry for 24 - 48 hours depending on the environment temperature.
The aim is to insure the panel is completely covered with enough paint, so the primer is no longer visible. Insuring that enough top coat is applied will also provide a durable long lasting finish.
The desired look during application would be comparable to an apple skin (if using the Renner paint system), once the paint has flowed out and dried, The panel surface should be smooth to the touch, and in appearance.
Pro tip: If unsure, Turn the the pressure down and complete the process in a slower fashion. Doing so will allow you to watch the application of primer/paint more easily and adjust accordingly if needed.
How To Spray Kitchen Panels That Cannot be Removed
Stage 1
Preparation & concentration is key!
Masking the edges precisely and correct will insure stunning results. If rushed and the tape is not on line, the results will look poor and lead to imperfections.
Make sure to methodically prepare the areas that will be masked, they should be clean, dry and free
from dust, grime or any containments. Any of these could compromise the effectiveness of the masking products and can lead to problems during the painting process.
Once all surfaces are clean, you can then begin masking.
Masking the inner carcasses
Start with the carcasses. Using your tape, mask up to the edge of the outer facing carcass trim. Keeping the edge of the tape edge in perfect line with the trim. Do this all the way round the inner carcass so to create a type of frame. Once completed, cut your static free sheeting to size and tape to the frame (neat and tight) doing so will prevent the sheeting flapping during spraying.
Make sure the static sheeting is masked the correct way facing, as the correct side is covered with a substance that causes paint and over spray to stick to it, without flaking off onto your paint work. The sheeting will be labelled so to show the correct side.
Repeat this process on all carcasses, or sections of the kitchen that require this process.
Masking the walls and sections around the carcasses
1st Tape Frame
Now for the rest of your kitchen, use the low tack tape to create boarder around all the panels to be painted, make sure the tape is lined up tight next to the panel, but not touching it. If this happens the paint will bond to the tape and not the panel!
2nd Paper & Tape Frame
Once all the panels in question have been masked around using the low tack tape. You will then boarder with the brown paper using the normal masking tape to stick the brown paper to the low tack tape.
This will create an extra protective area that the spraying process will not effect.
3rd Static Sheeting & Tape Frame
Finally use the static free sheeting to protect the rest of the kitchen, using the same priceable as stated above.
Use the sheeting to seal off door entrances into other rooms, if you have an open plan living space use the sheeting to box off the kitchen section from everything else.
You will need at lease 1 - 2 windows open for air ventilation! (very important)
Pro tip: use low-tack tape on walls and celling's to avoid removing pre-existing paint.
Spraying Carcasses, end panels & Kick Boards
Stage 2
Simply follow the process stated earlier in this guide on how to clean, prepare and spray the doors and drawers!
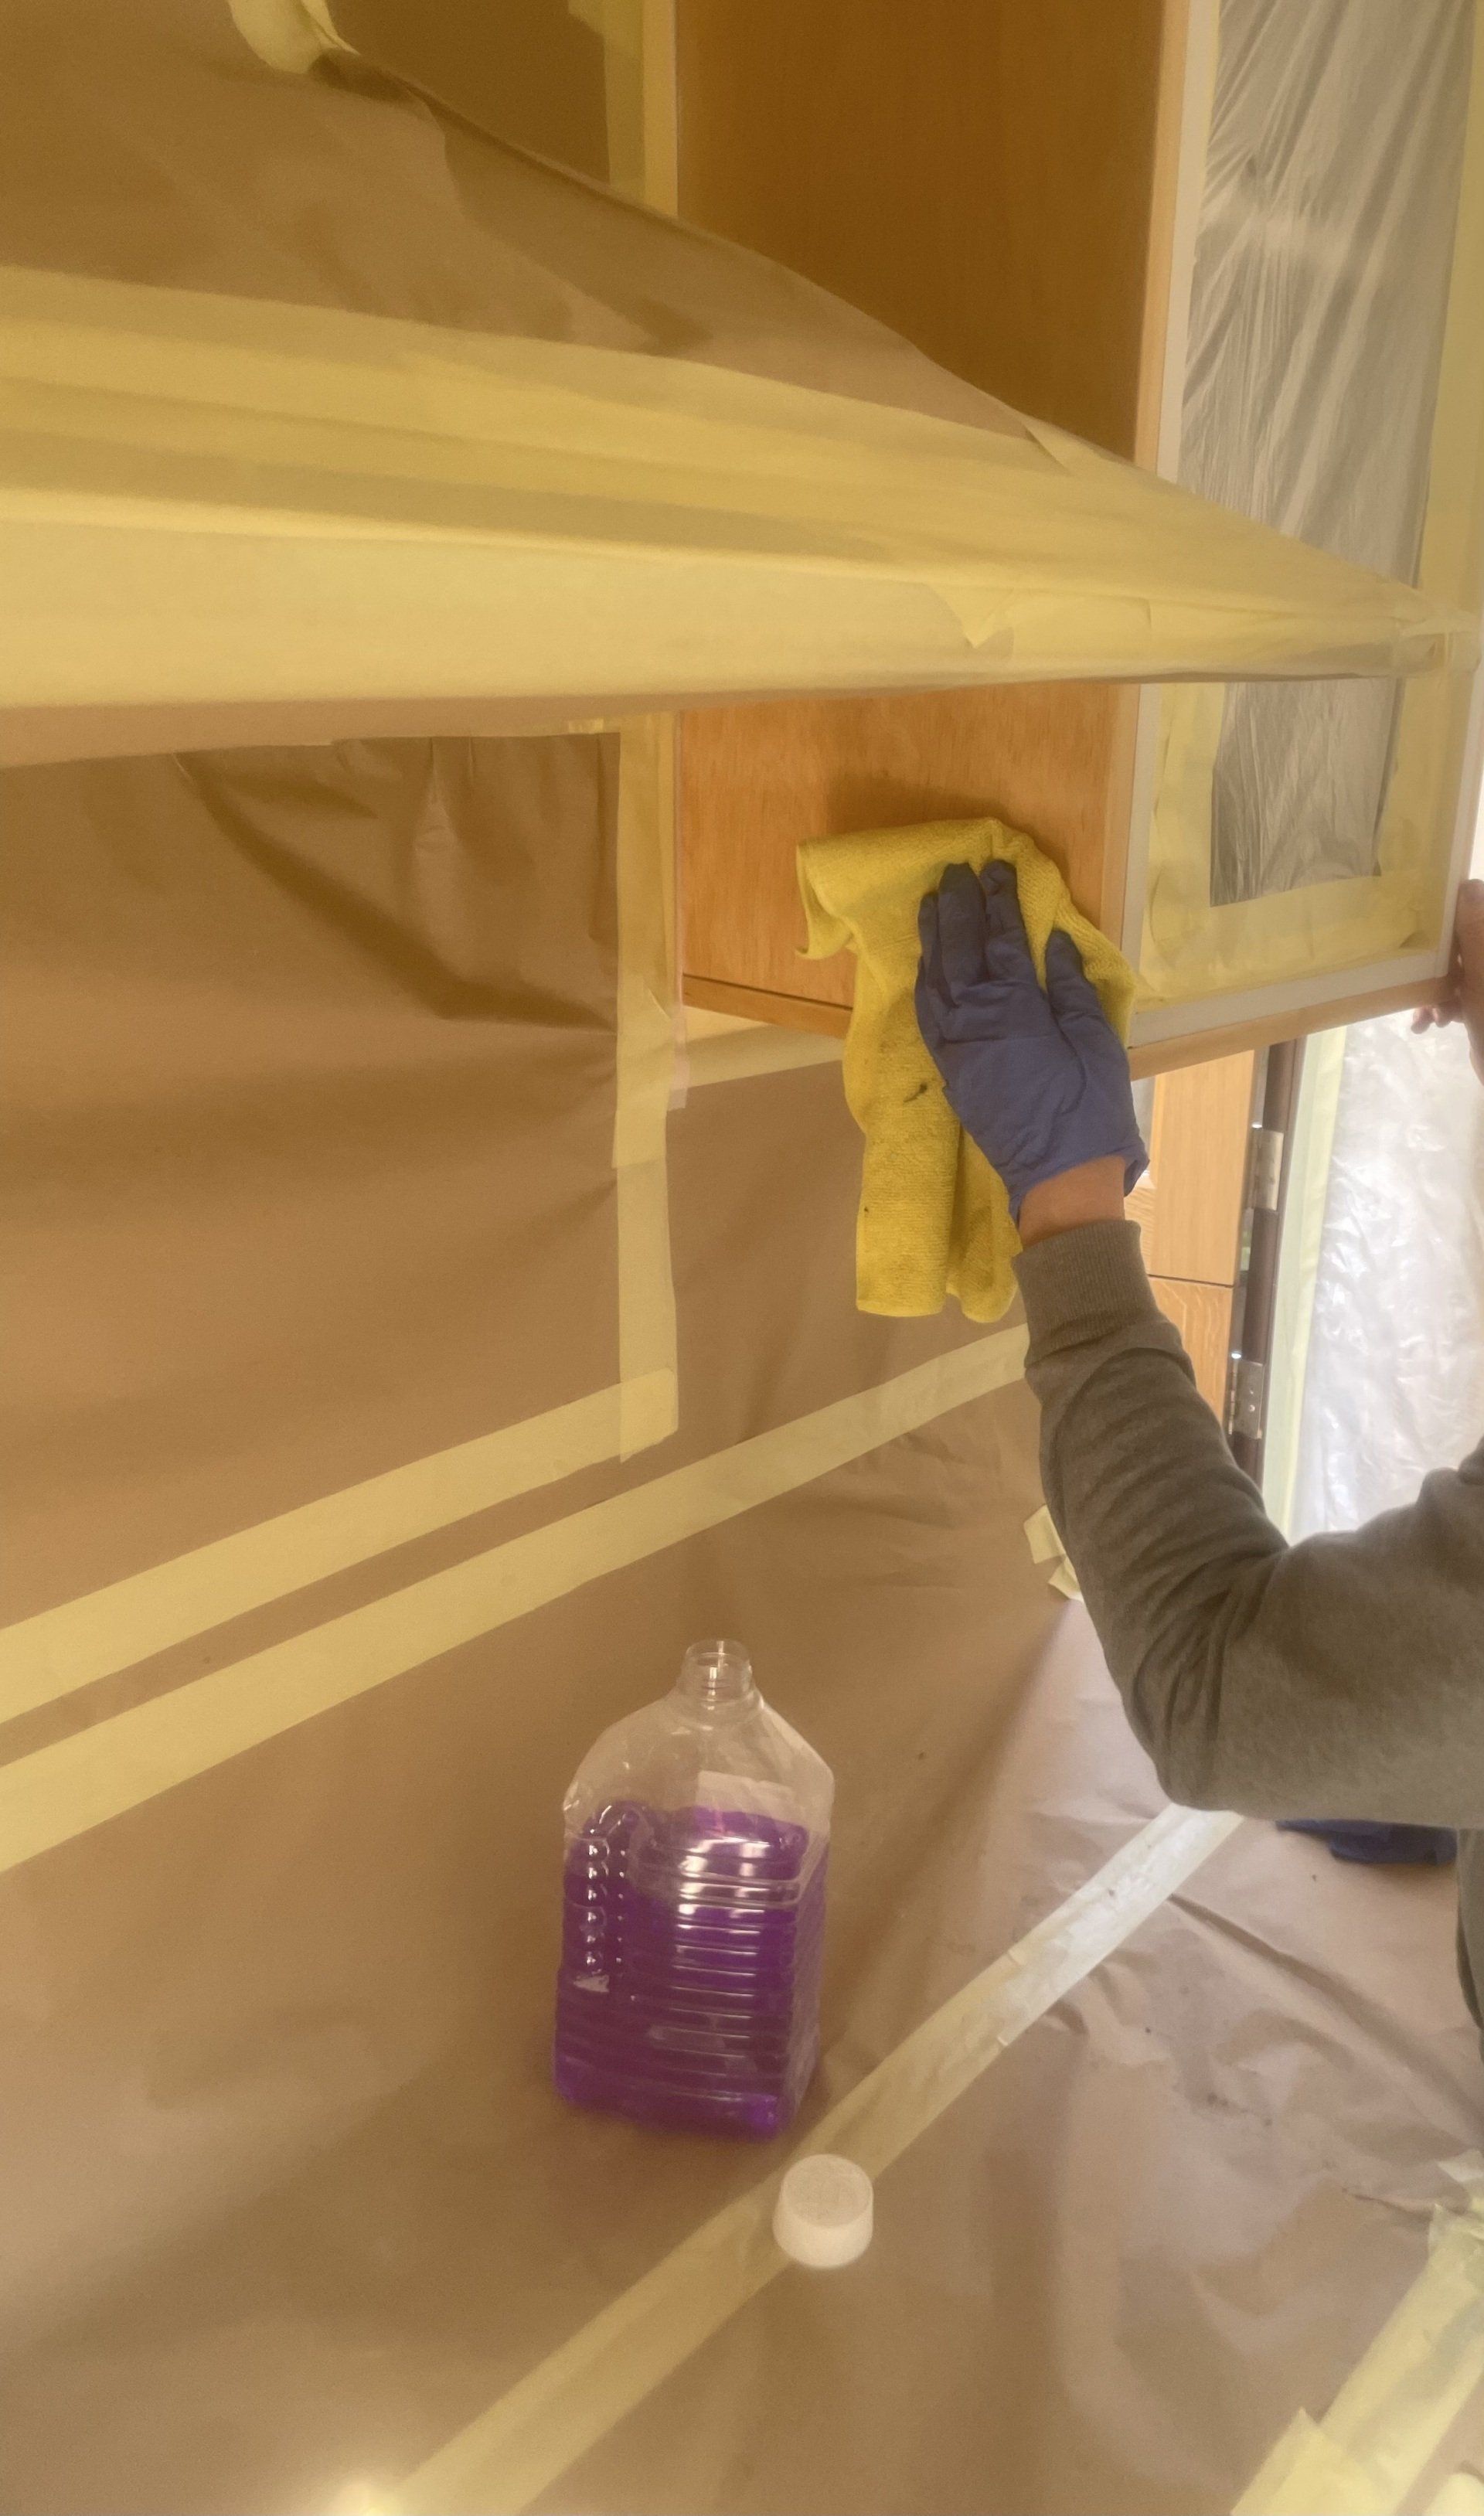
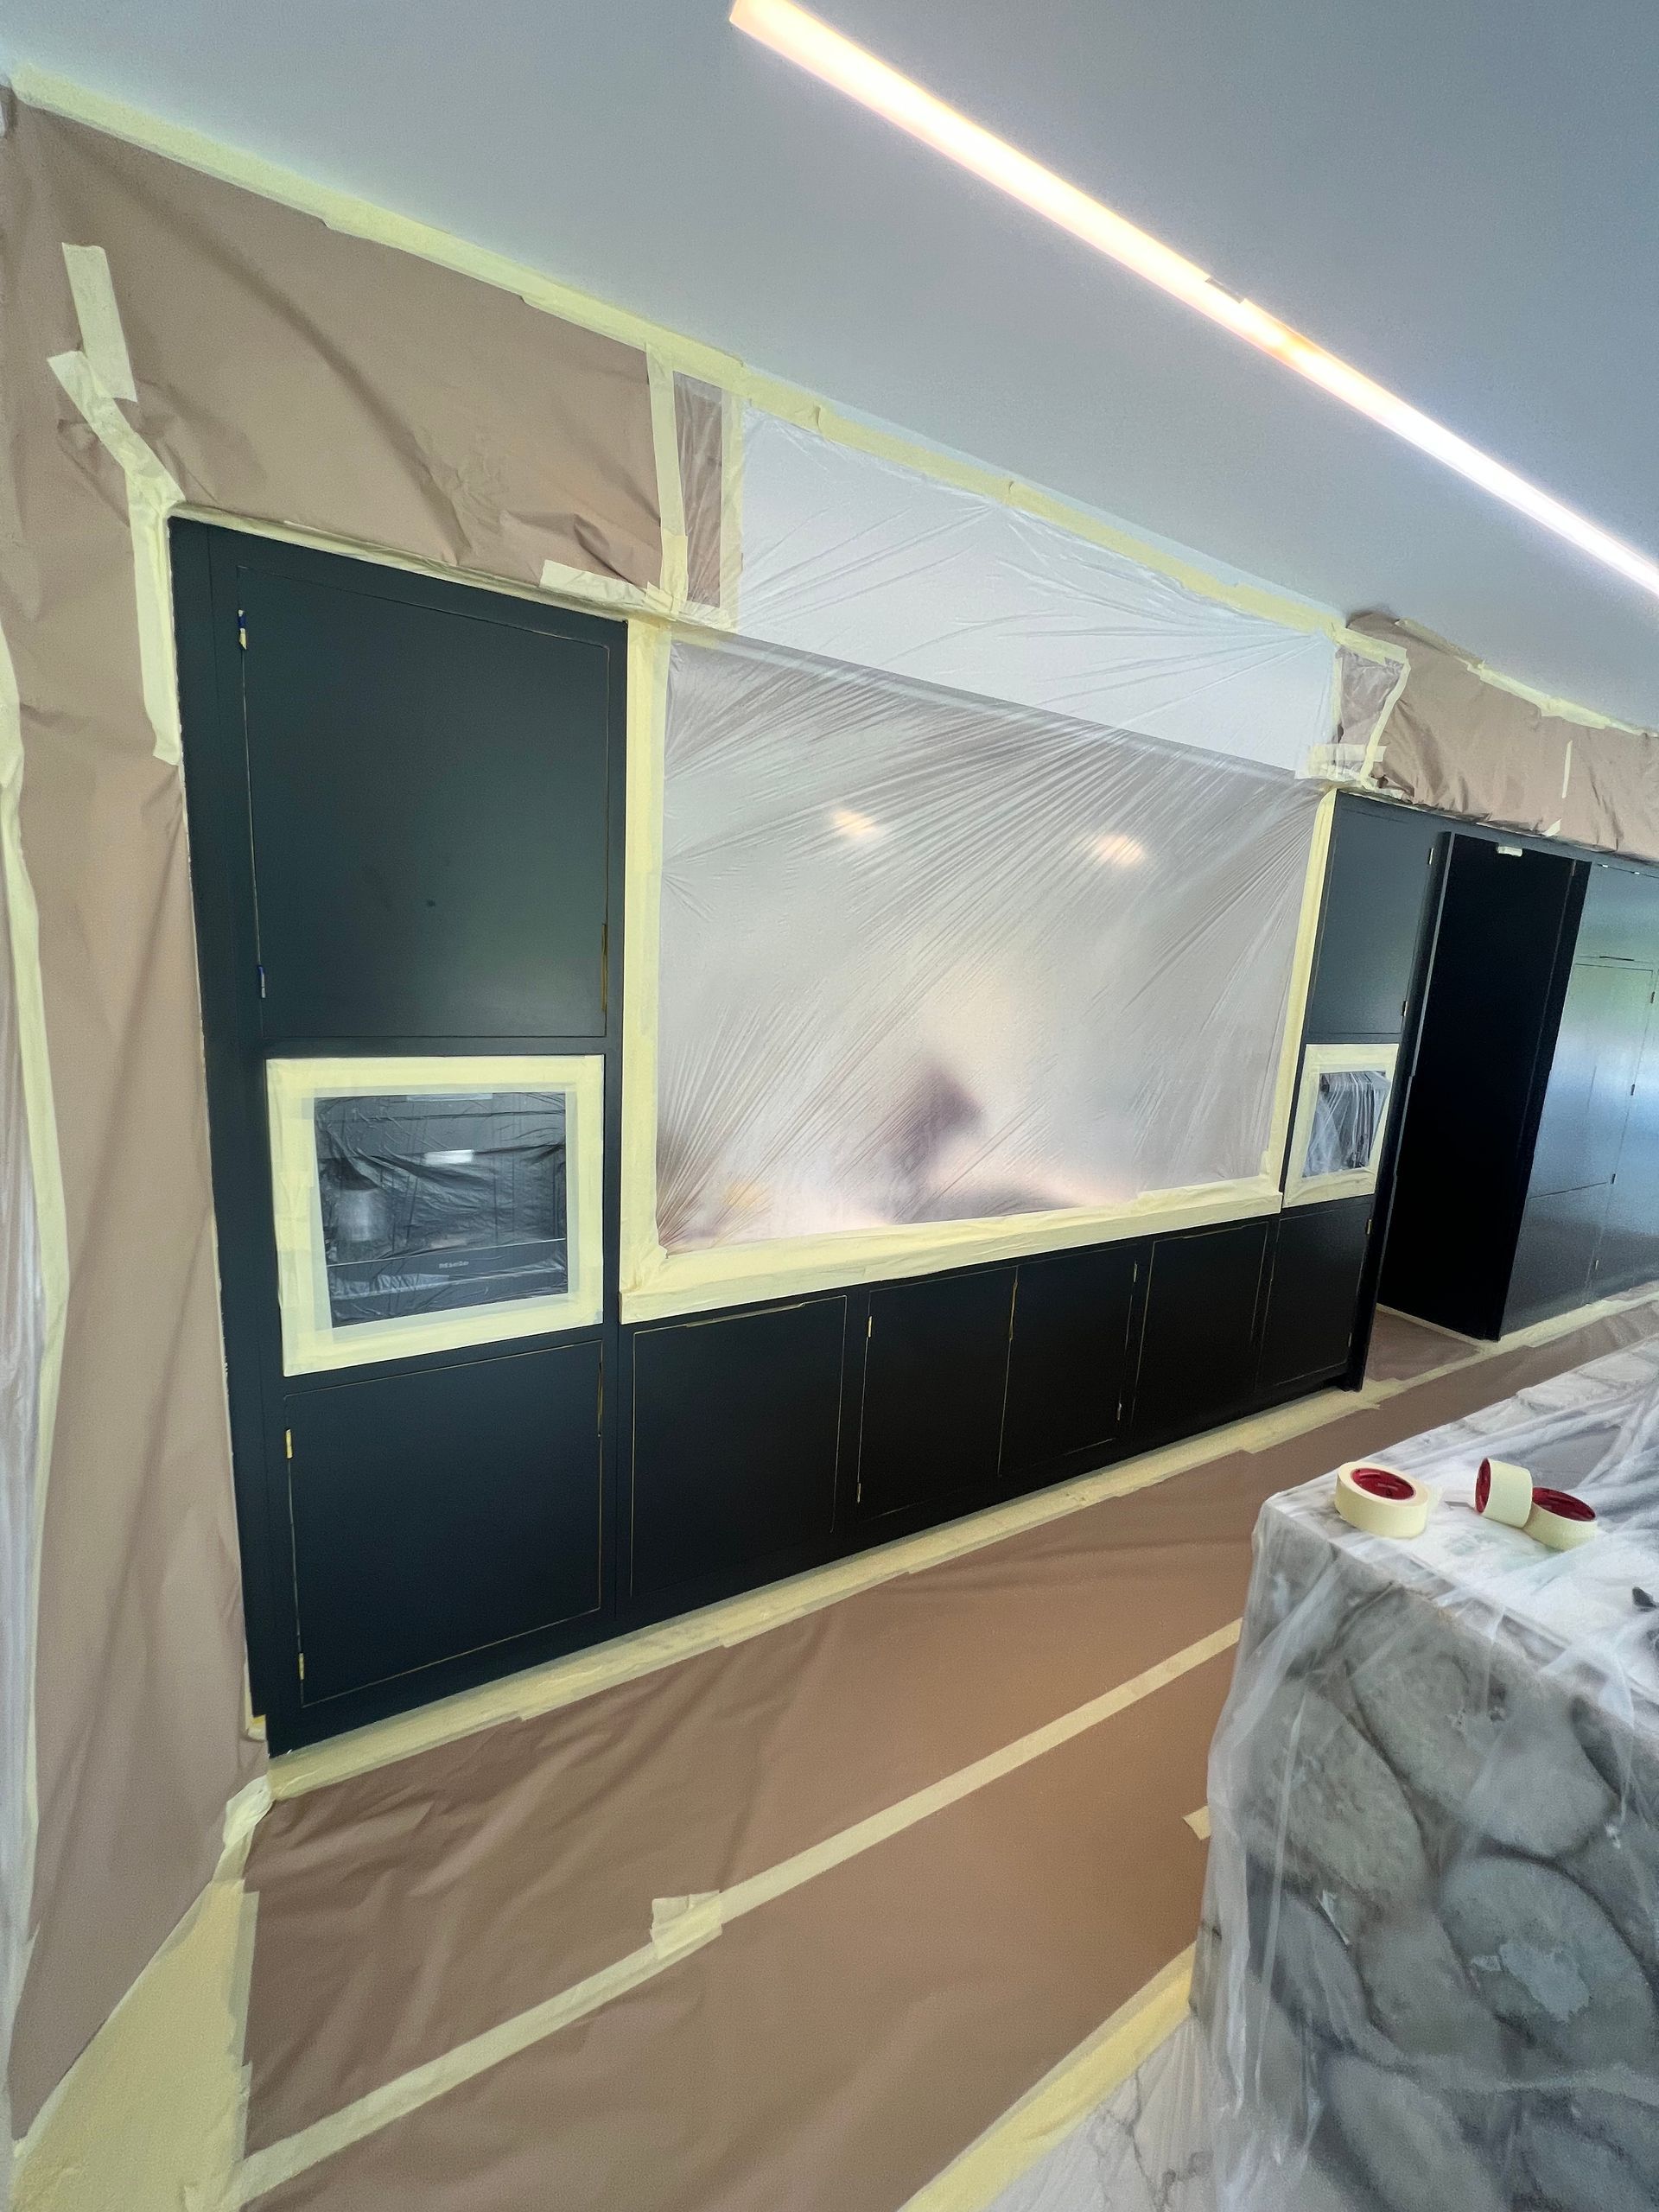
A image showing the kitchen masked and ready for cleaning.
De-Masking
Stage 3
Once the paint is fully cured, check for any imperfections. If any, gently sand with 1500, 2000 grit paper, (avoid excessive sanding as you run the risk of breaking through the paint work) once the imperfection has been removed, apply a small amount of paint onto a clean microfiber cloth and touch in the sanded area. This may require 2 - 3 applications depending on the grit used.
Once dried de-mask the tape frames very carefully, starting from the low tack tape next to the painted panel.
Very slowly peel the tape away from the panel and pull as tight as possible.
If there is paint build up on the tape, use a razor blade and run down the line between the painted panel and tape before de-masking. This will prevent the tape removing the paint applied to the panel.
Once completed, begin de-masking the outer masking stages, once completed you will need a good tidy up!
Use methylated sprits or a razor blade to remove any overspray, read the label when using methylated sprits to find out what surfaces are not suitable for this product.
Pro tip: Start de-masking from top to bottom, doing so will allow dust and debris to land on the sheeting applied to the floor and will be easy to wrap. Saving on cleaning after!
Refit Of Kitchen Hardware.
Stage 4
Now this is where methodically labelling everything during the earlier stages pays off! Simply re-fit hinges and handles in reverse of how you removed.
If any doors are in need of adjusting after the re-fit. Each hinge should have two adjustable screws on the body, simply turn these
in or
out using a Phillips screwdriver. Checking the door after every adjustment.
Pro tip: Screw hinges to the doors first, then click the hinges on to clips attached to the carcass.
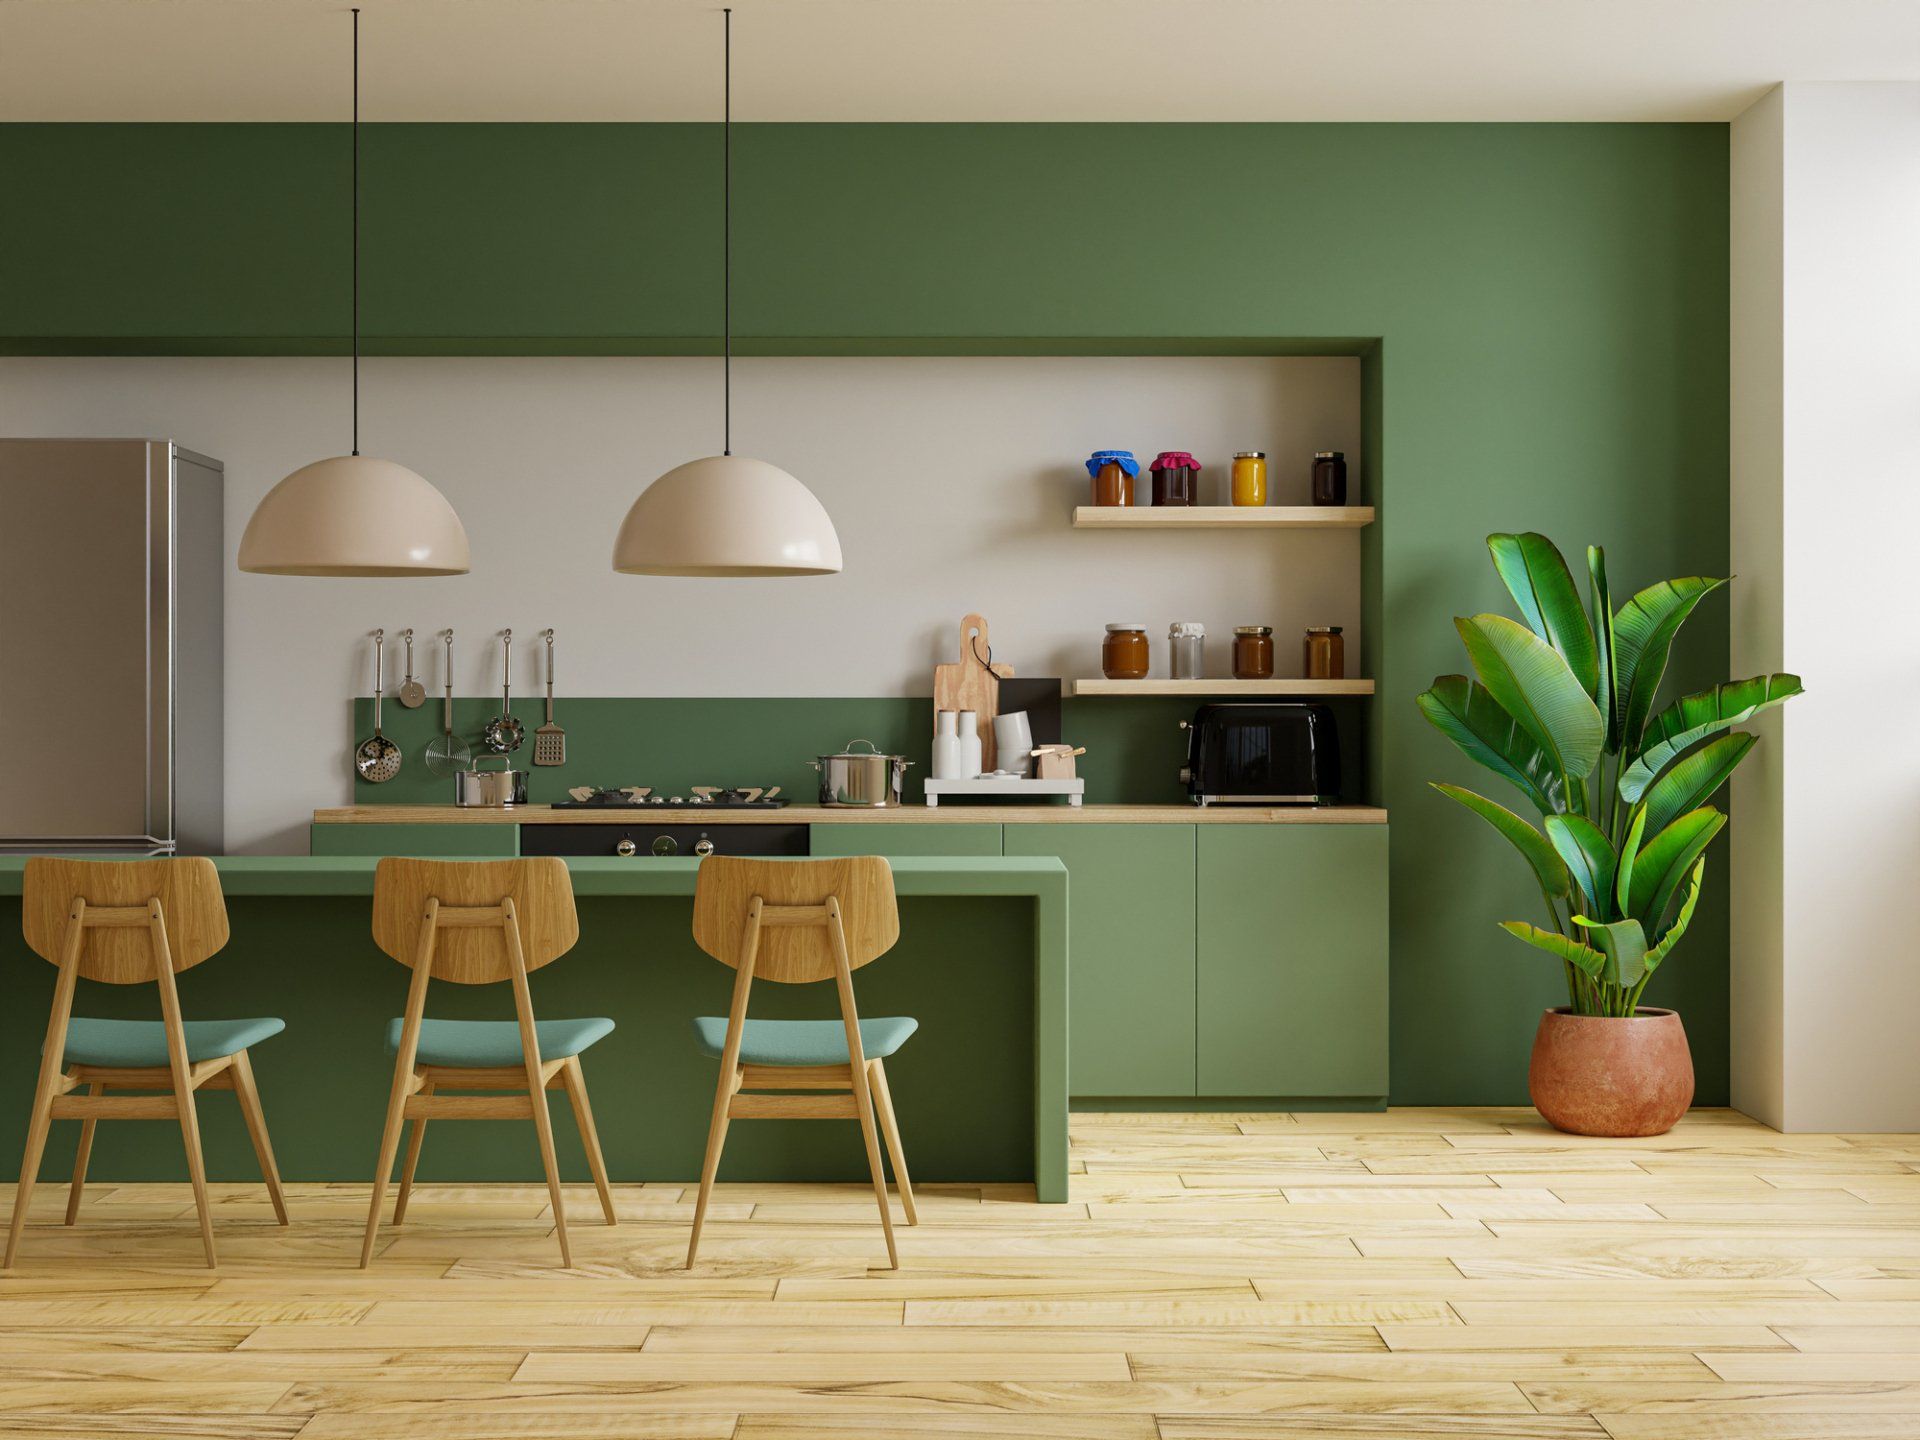
AFTER
Spaying Vs Brushing
Spray Painting vs. Brush Painting Cabinets
There are two methods for painting kitchen cabinets: brush painting and spray painting.
With our expertise and 15 years plus experience bringing bespoke Kitchen re-sprays to life. We can say with confidence opting to spray over brushing achieves a true luxurious finish, professional factory finish, smooth to the touch, far more durable and long lasting.
Pros and cons for beginners to consider
Brush Painting Pros:
- Quick & simpler preparation process
- More cost effective overall
Brush Painting Cons:
- Extended painting process
- Brush marks/poor finish
- Less durable, likely to chip & crack
Spray Painting Pros:
- Faster application process
- Superior finish
- Extremely durable, long lasting finish
Spray Painting Cons:
- Extended preparation process
- Not as cost effective
- Specialised tools required
Spraying Vs Brushing

Cost Comparison - DIY Vs Professional Service
Listed below is the typical cost for both DIY spraying and DIY brush options, we have also listed the cost for an average sized kitchen completed by the KoolCreations bespoke spraying team.
Brush Finish - Average total cost:
£1200.00 - £1400.00
Spray Finish - Average total cost:
£2600.00 - £2800.00
Choosing KoolCreations - Average total cost:
£1500.00 - £2200.00
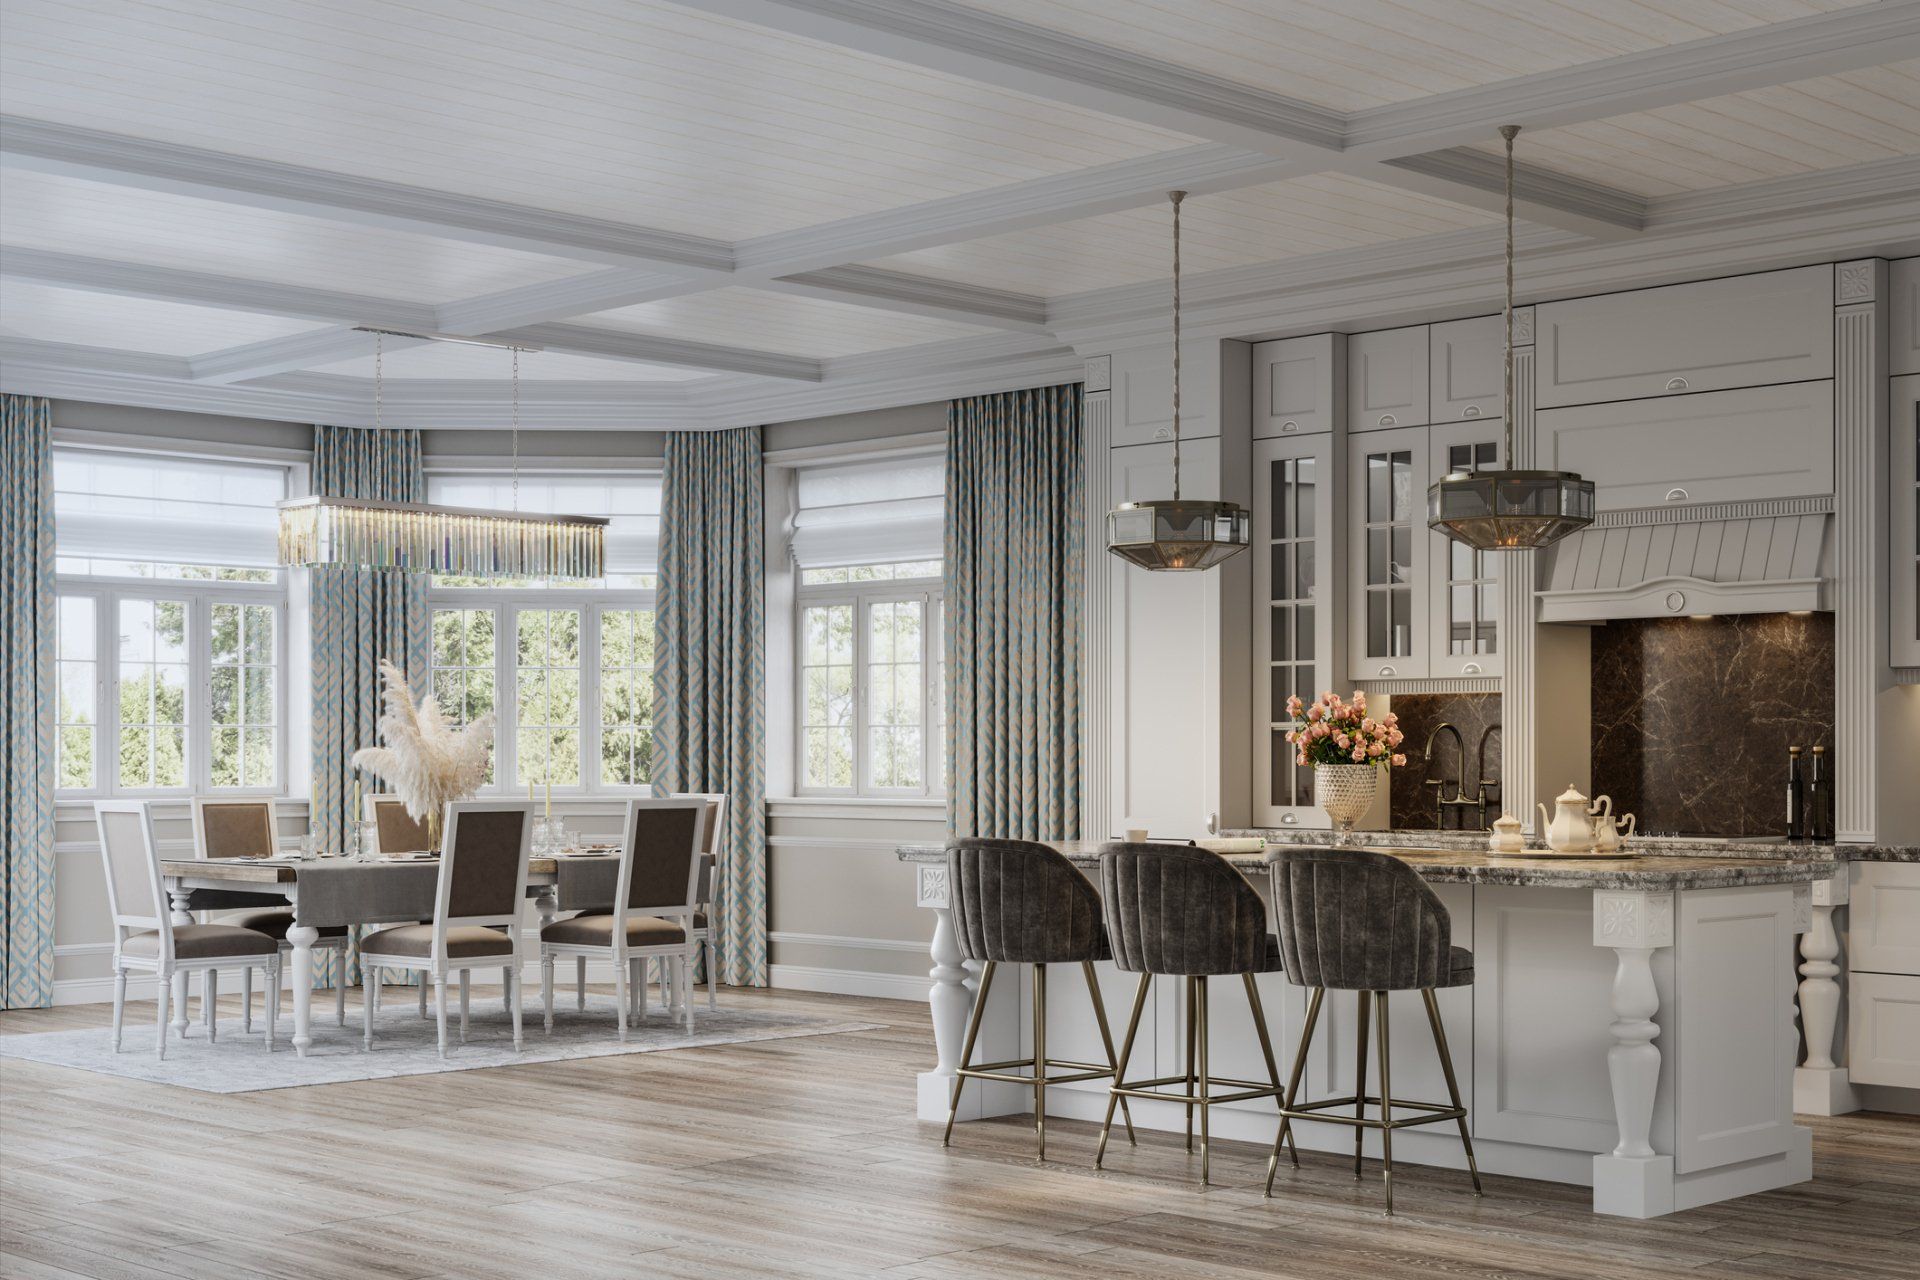
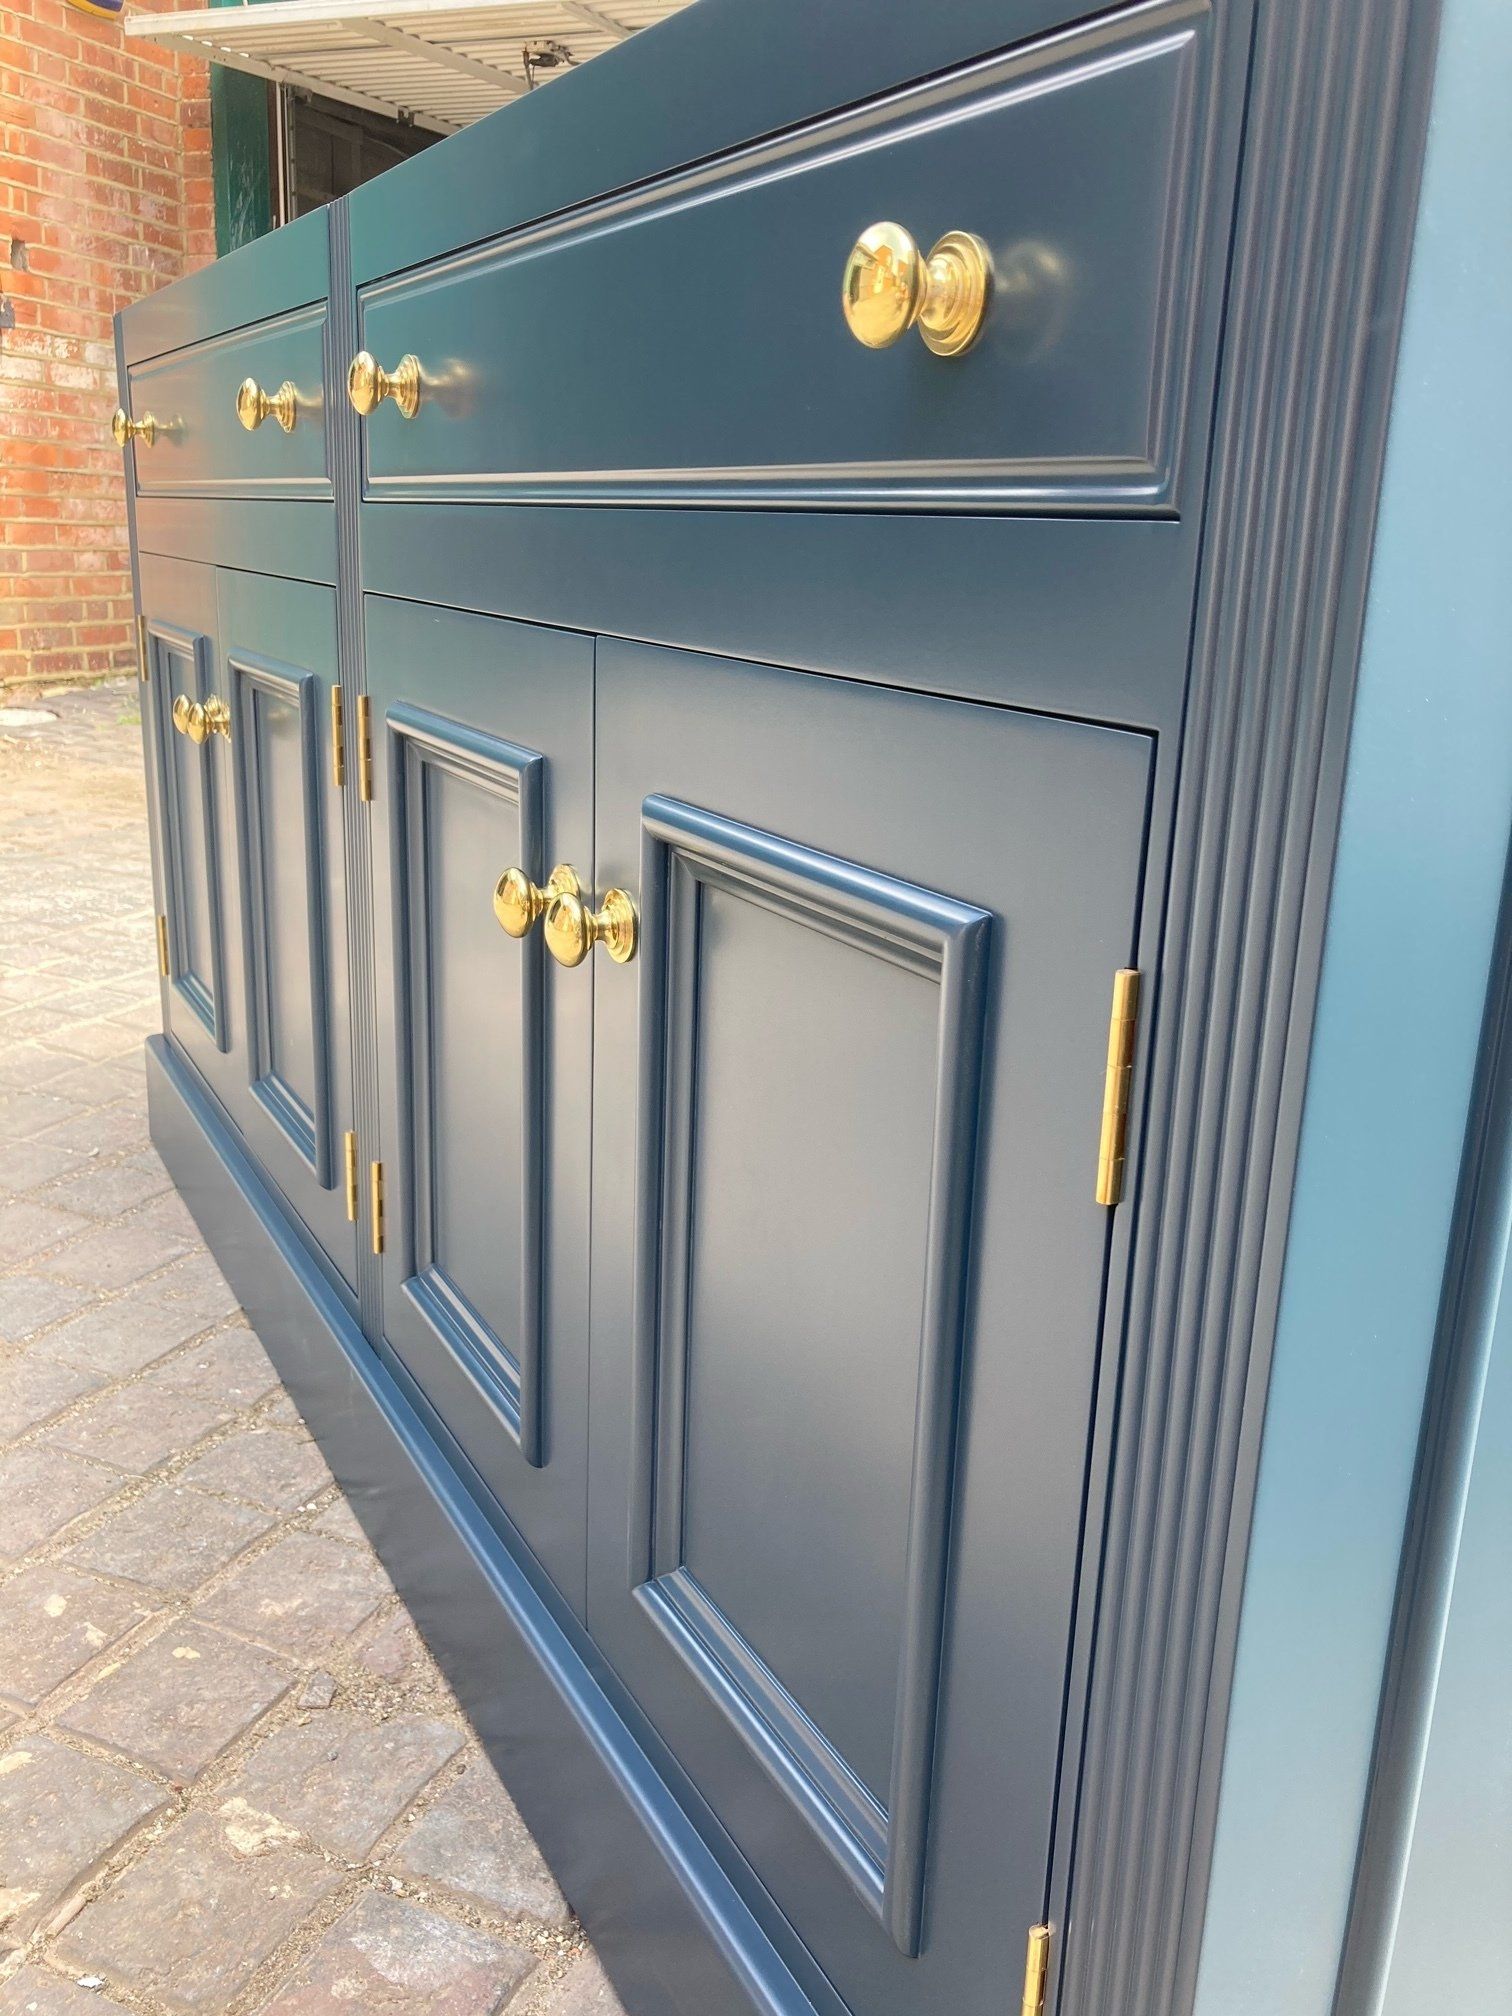
Previous KoolCreation Kitchen Projects
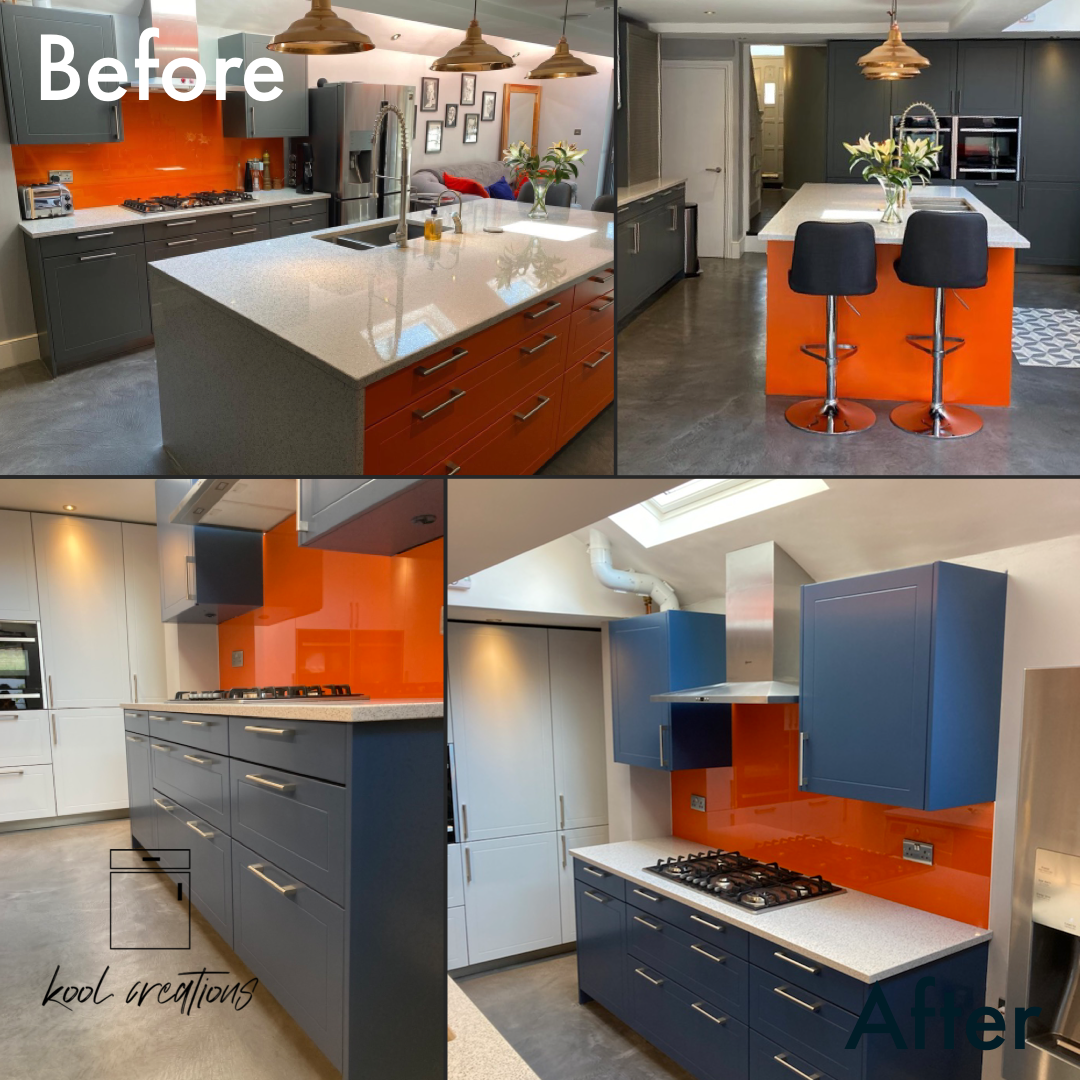
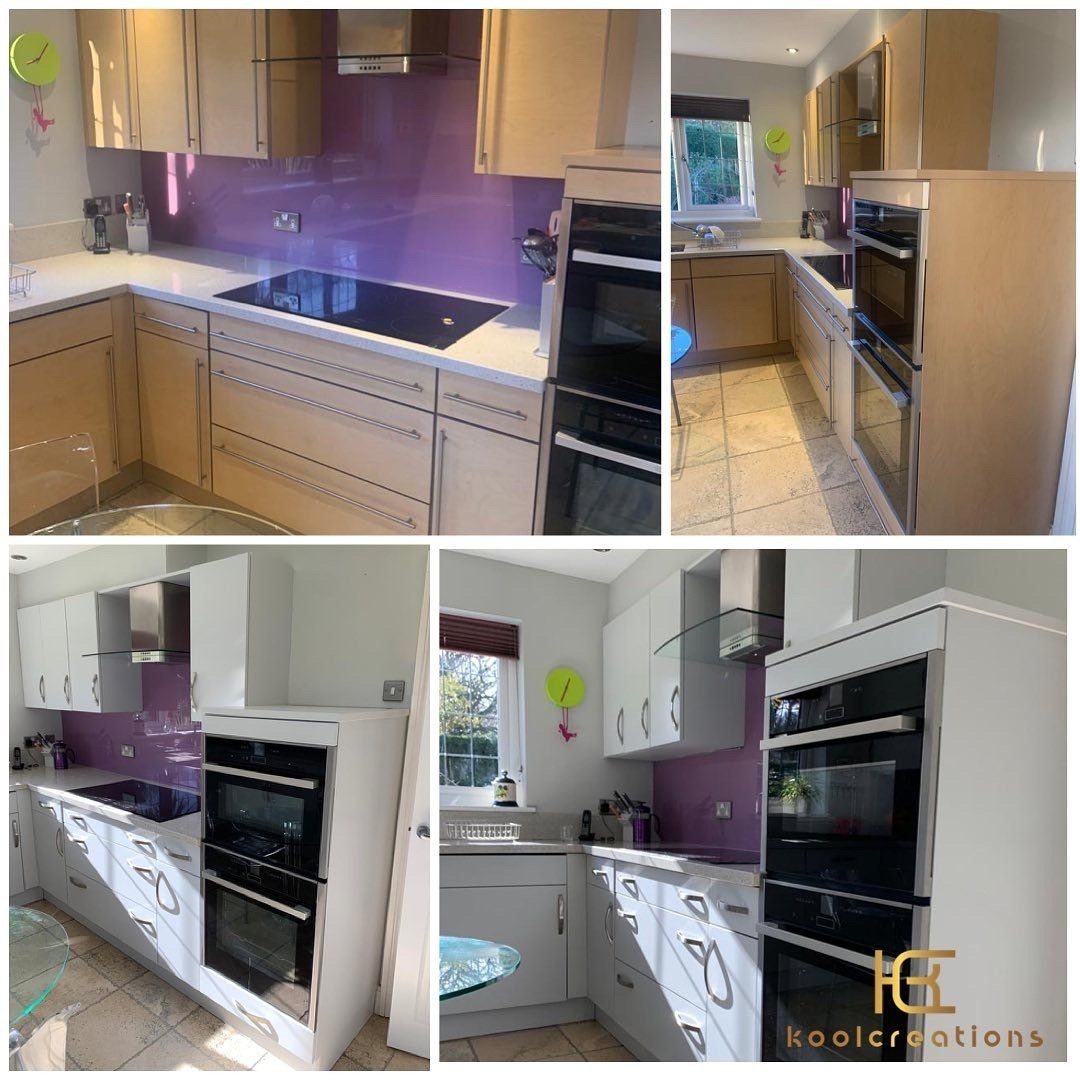
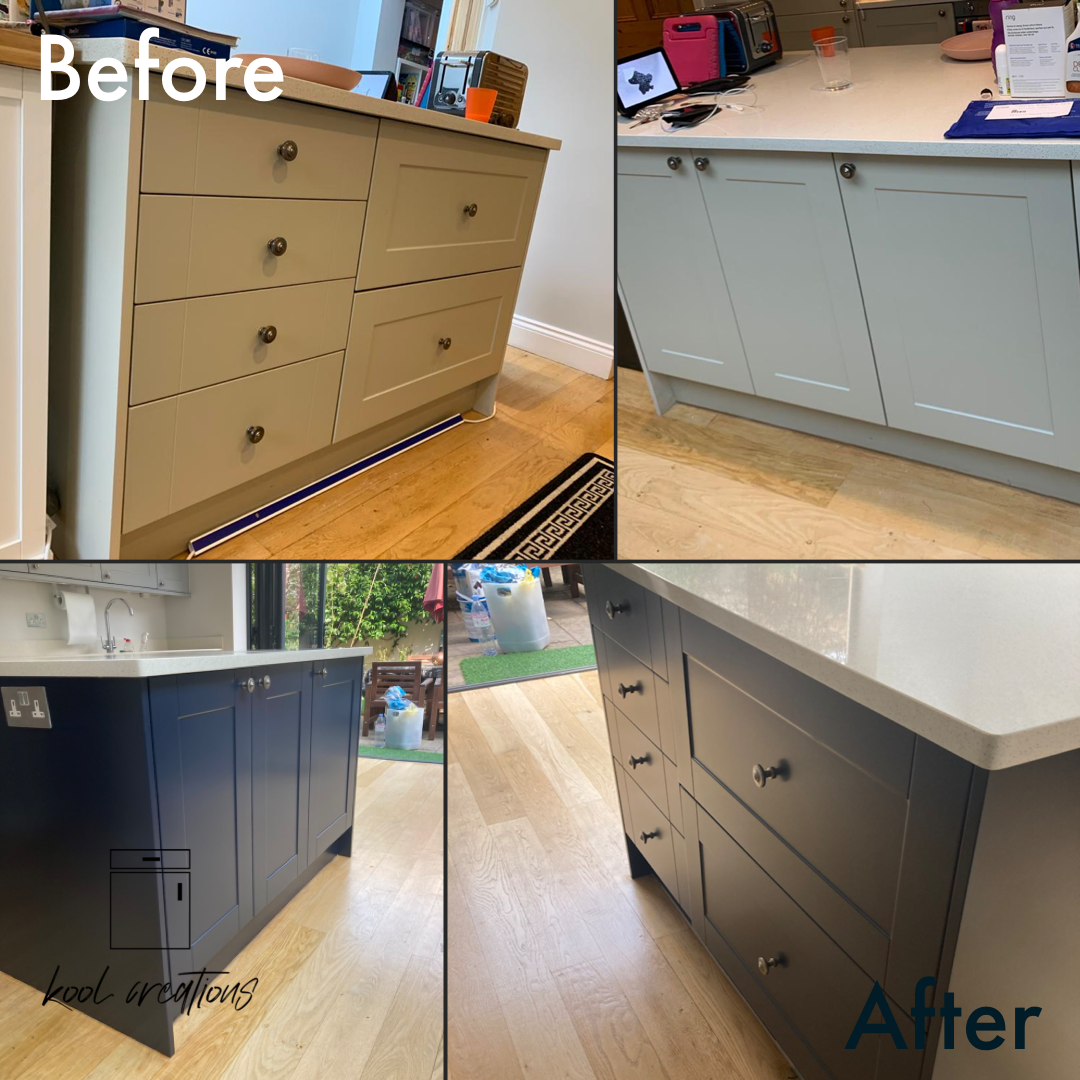
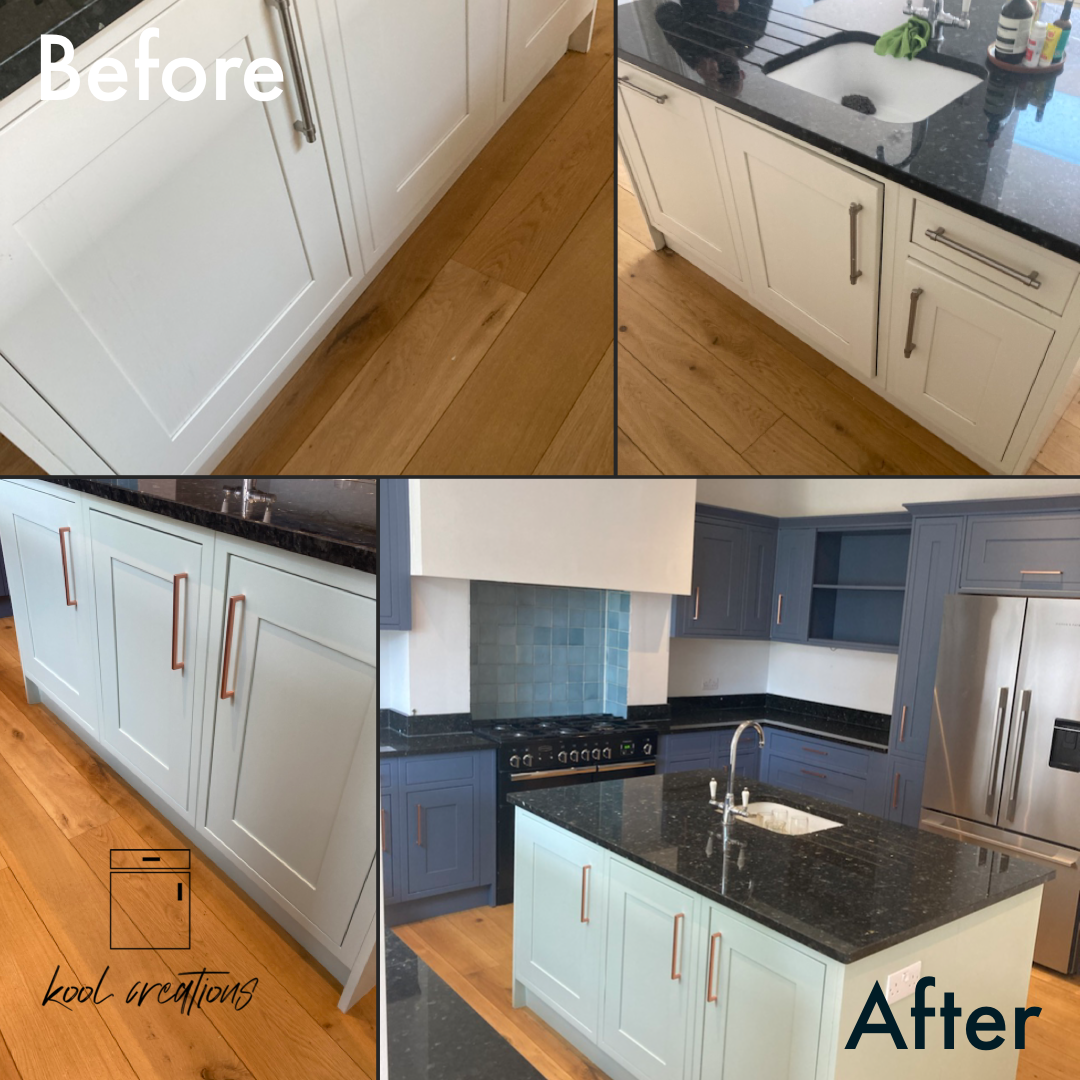
Want to discuss your project with the KoolCreations team?
Click Here to find out how...